How to Refresh Old Victorian Pine Flooring
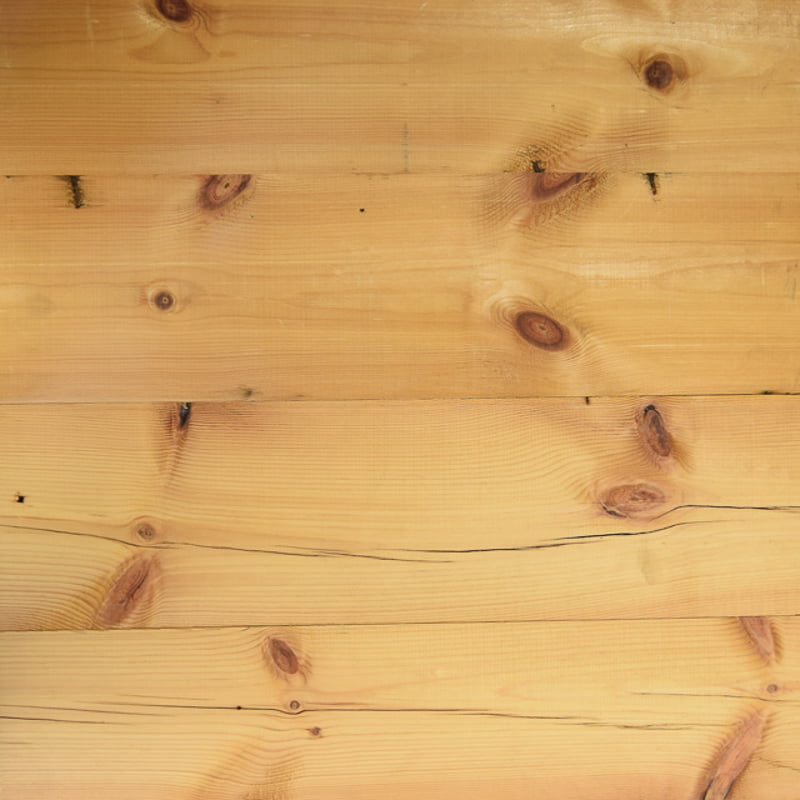
Pine has been used as flooring for centuries and can be found in many older British homes. This practical, cost-effective flooring material became readily available during the industrial revolution, booming in popularity to become a common feature of Victorian era houses. If you’re fond of pine’s natural rustic appearance and it’s in good enough condition, it makes sense to try and give it a new lease of life. So, where do you begin if you want to refresh old Victorian pine flooring?
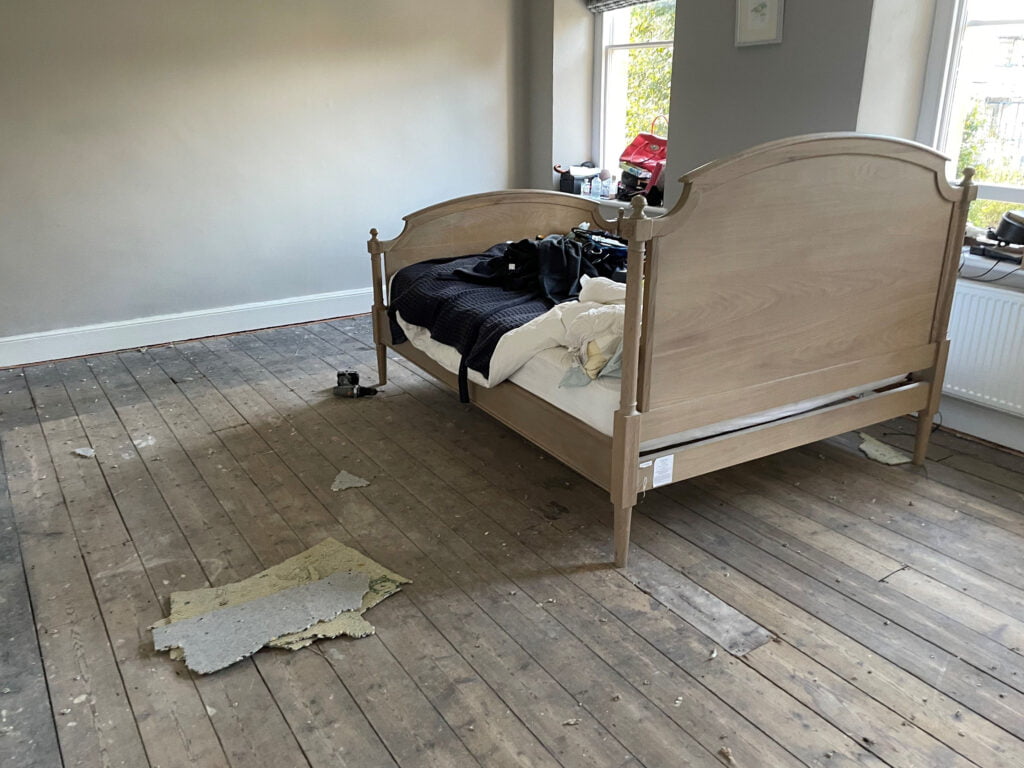
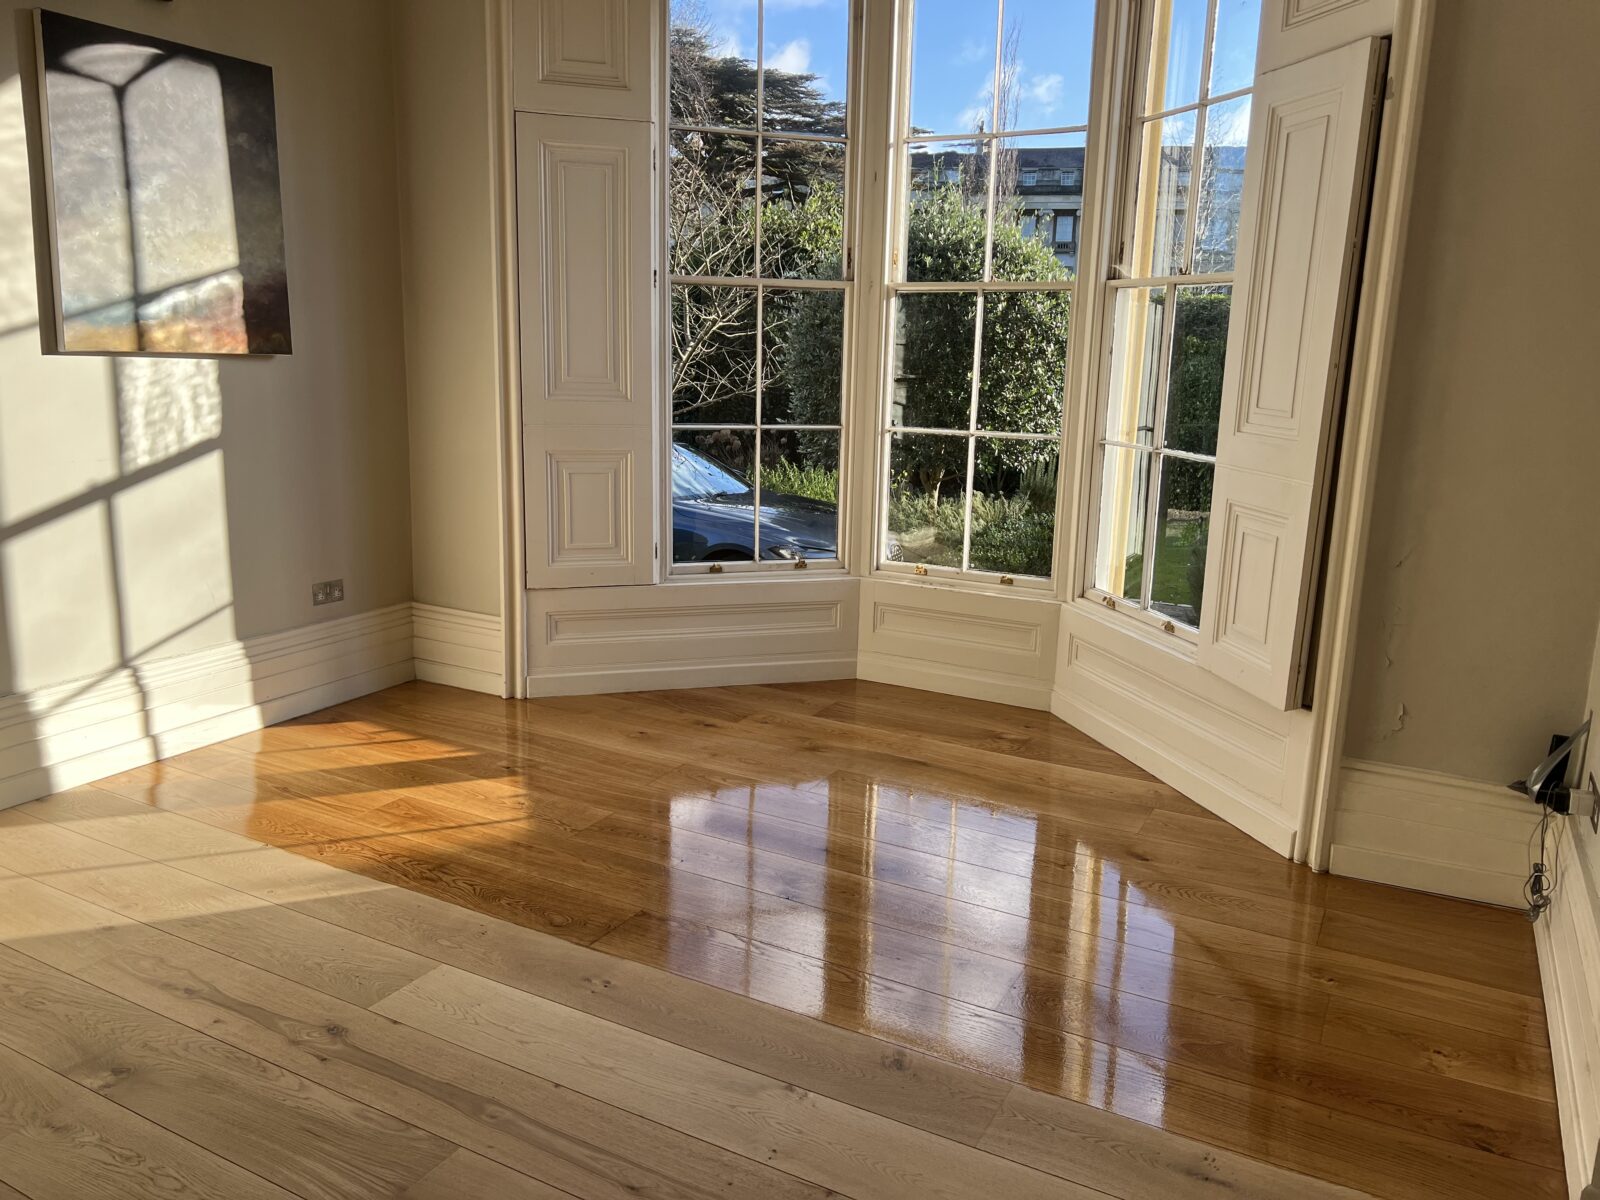
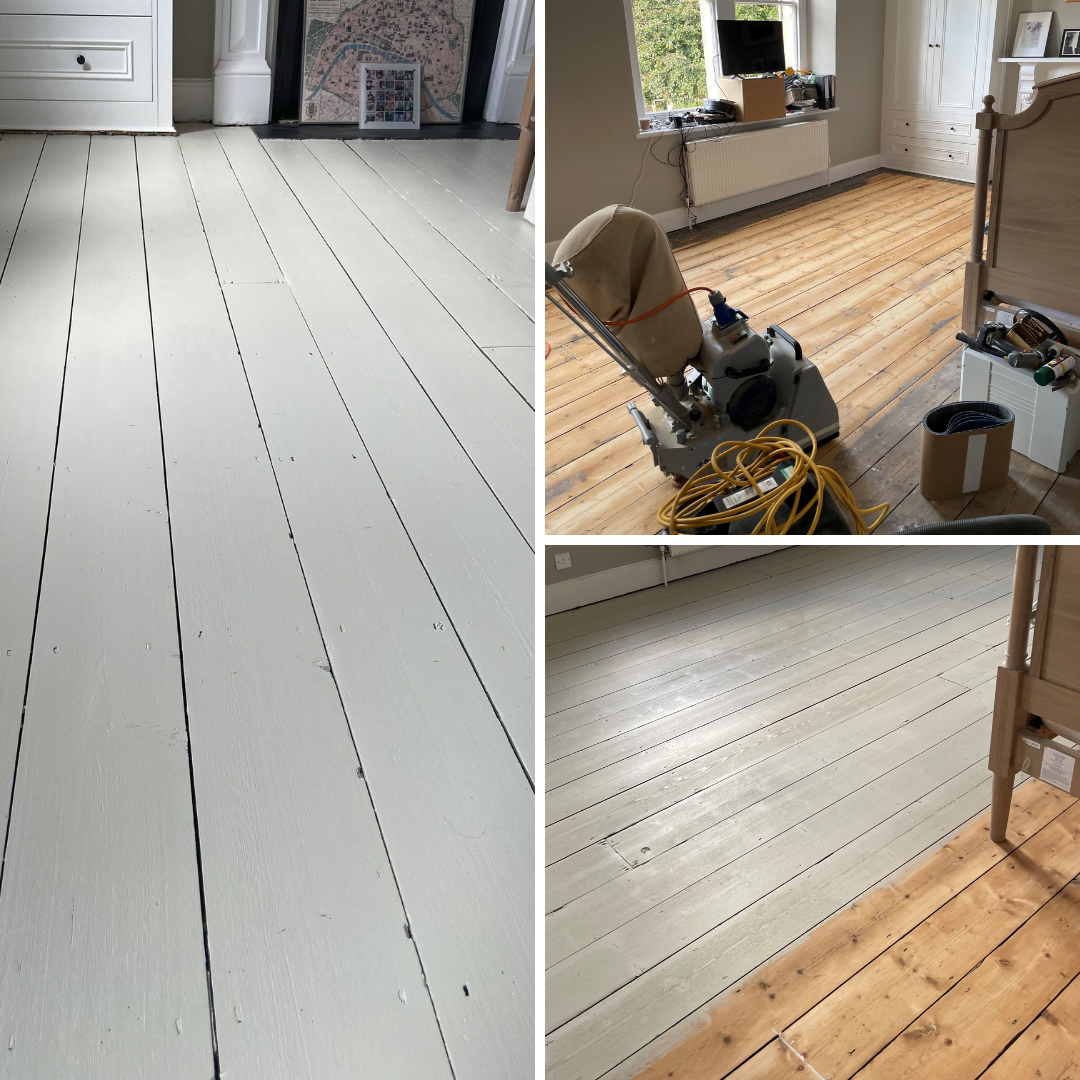
Victorian pine floorboards at our clients’ home in Clifton. Before the refresh….
Reviving Your Pine Floor
Whether you have existing Victorian pine flooring which is looking a little lacklustre, or you’ve recently discovered some original flooring hiding under laminate or carpet, you’ll want to show these floorboards some love if you want them to become a charming authentic feature of your home.
If you’re lucky, the discovered boards might be in good condition and beautifully aged. In which case, they might only need a clean or a very light sand to refresh them before re-coating with an oil or lacquer. However, original Victorian pine floors often need some serious attention to revive them and get them looking their best.
Embrace the Rustic Look
Pine is a softwood; as such, it isn’t as hard-wearing as oak or other hardwood flooring. Just be ready to embrace the fact that pine flooring will always mark and dent, adding to that time-tested charm.
Before You Start
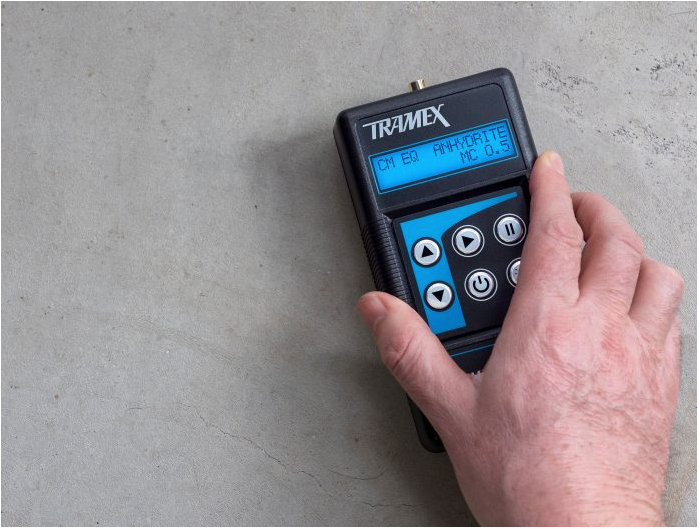
You will probably be eager to press on and start making your pine flooring look pretty, but it’s always worth checking whether the flooring and the joists underneath are structurally sound before going any further in your flooring revival journey. Walk methodically across the whole floor and check for any signs of poorly supported boards; check for sagging, dips, and planks which feel spongy or bouncy underfoot.
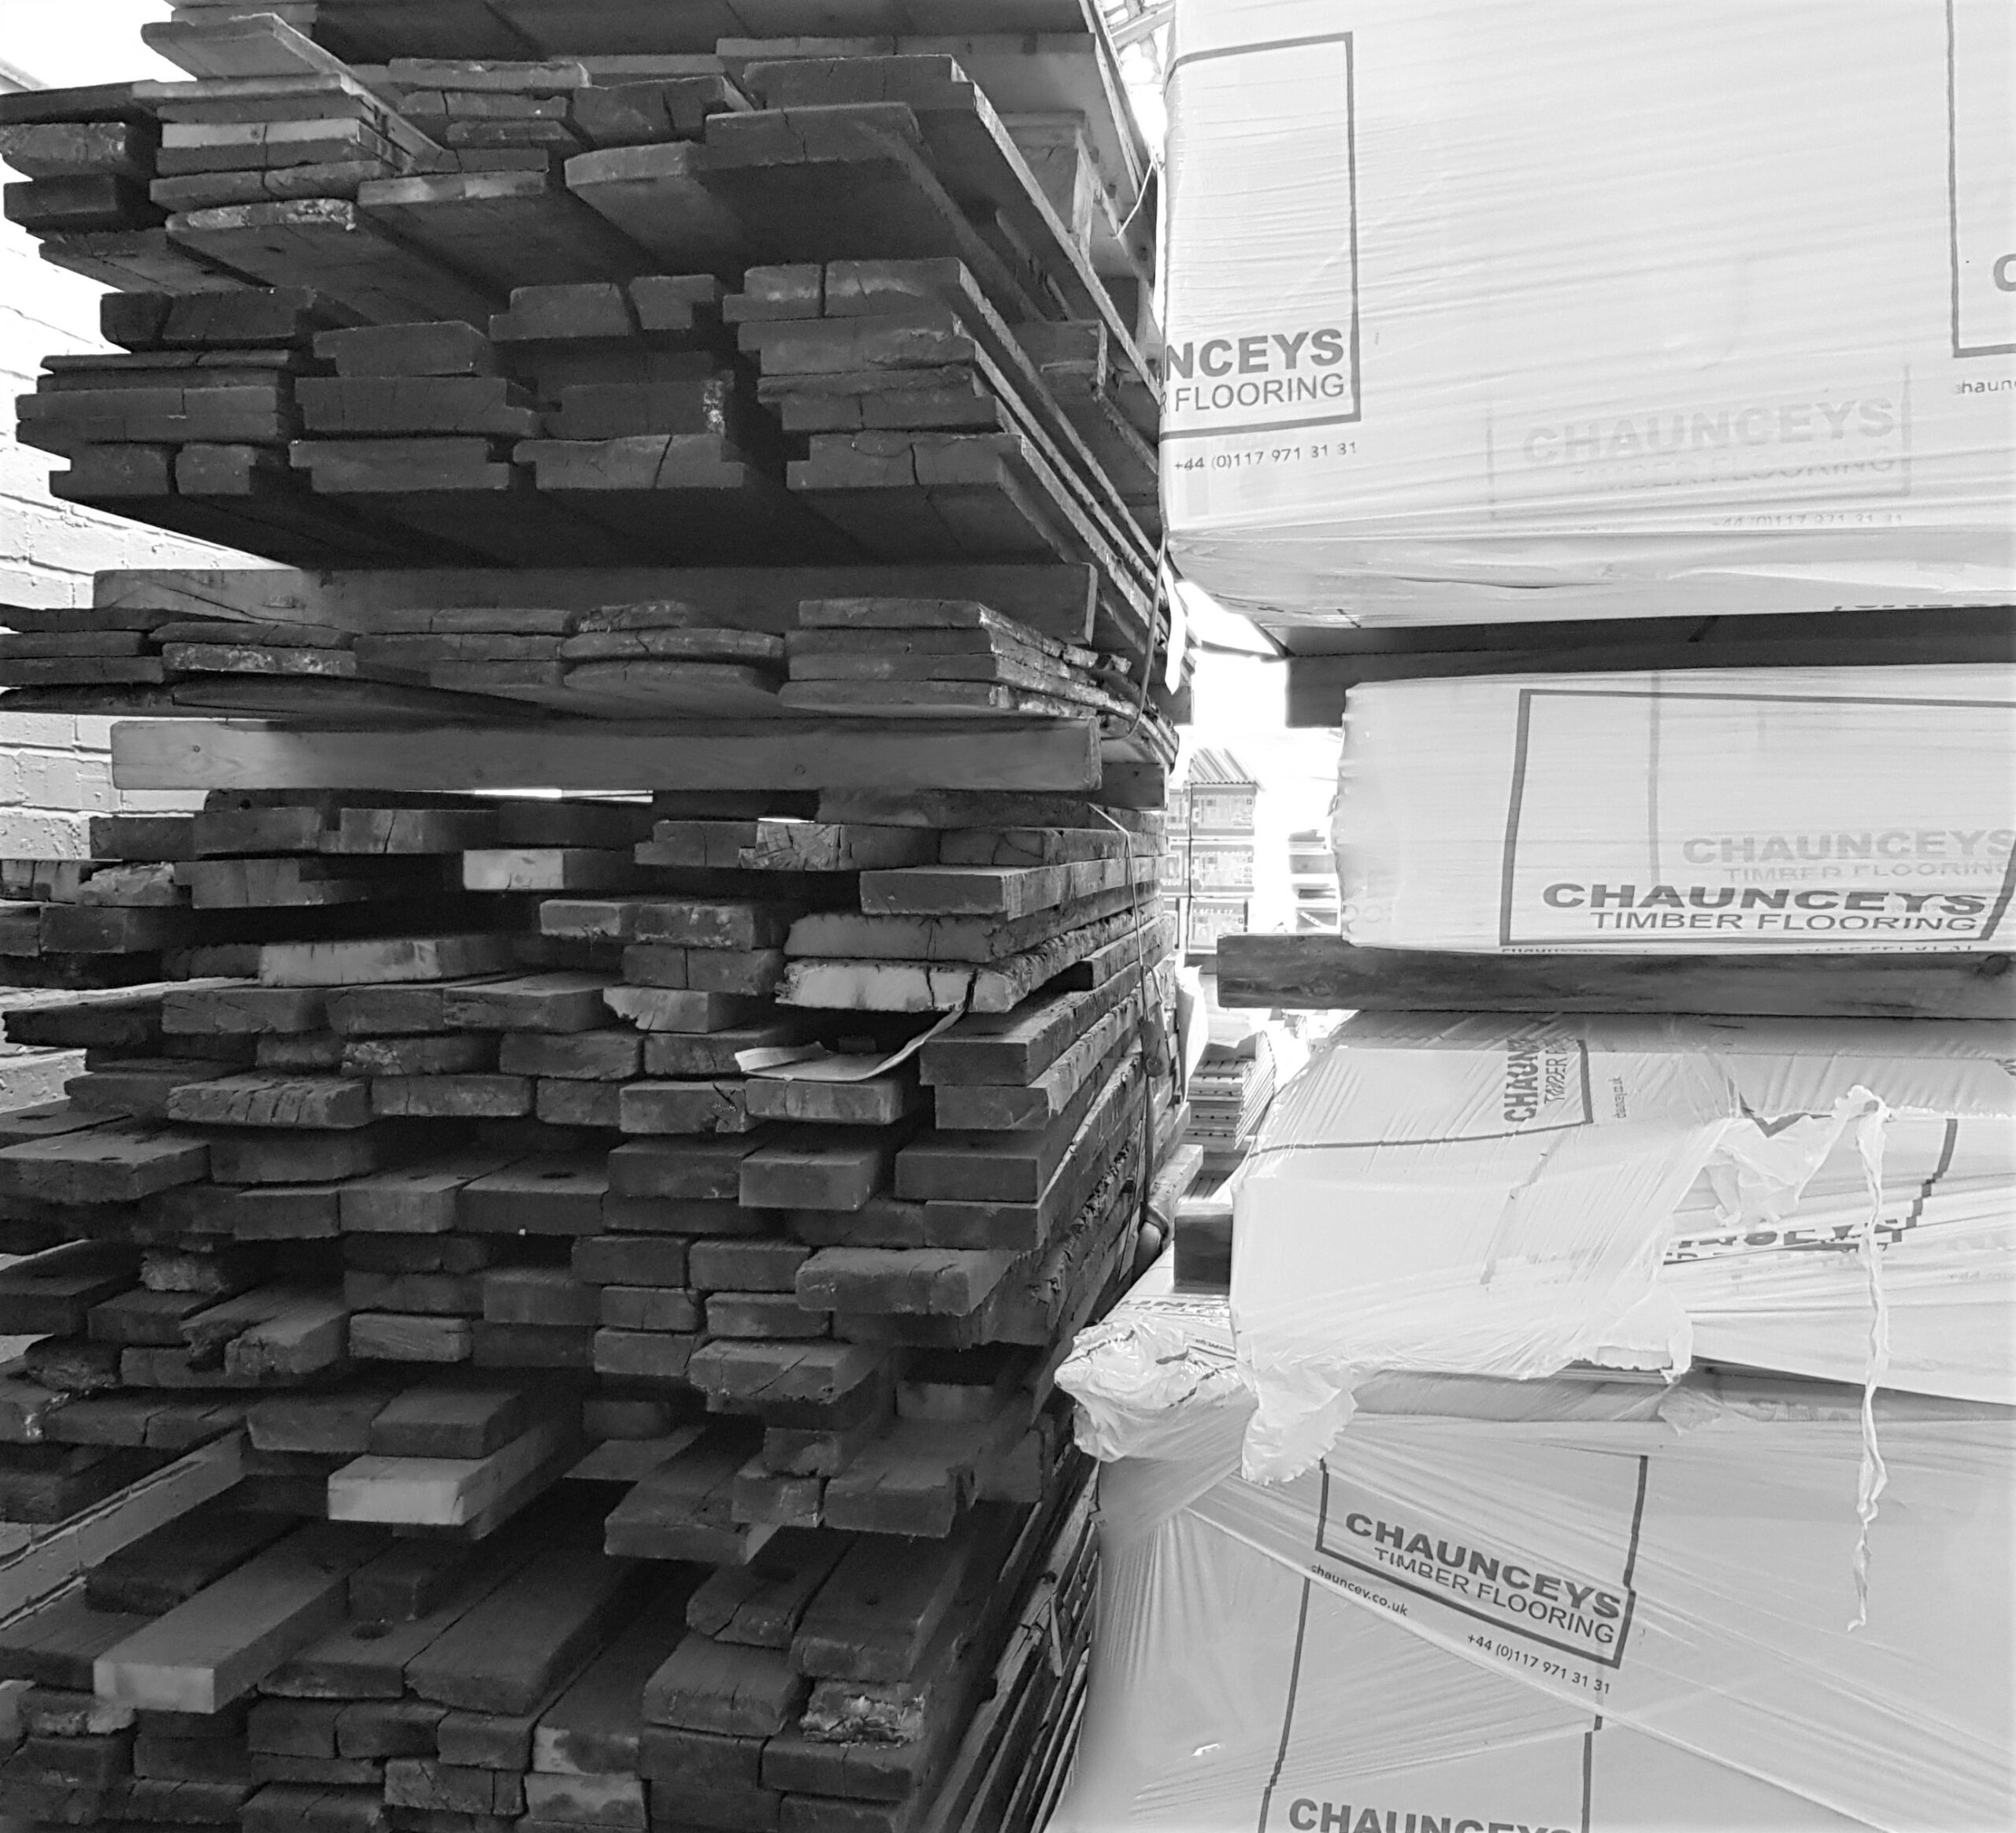
The floor might also be noticeably damaged in places, with splintered edges and probably some poor repair attempts from previous owners. Repair any damaged boards if possible and replace any that are beyond repair. Use reclaimed boards to match them in with the existing floor.
It’s worth fixing it all at this point; if you can do it all at once, it makes it easier to achieve a better result with less hassle in the long run. If there are any minor issues such as creaks and squeaks, it’s worthwhile sorting all of these before you get going with sanding the boards, or you’ll have the frustration of having to sort out these niggles afterwards, just as you’ve got your pine flooring looking lovely.
Once you’ve rectified any structural issues and you’re happy with its condition, you can start looking at refreshing your floor to give it a new lease of life.
Face-Nailed Pine Planks
Depending on the age of the property, you might find that the planks have been face-nailed to the joists, with obvious gaps between the boards and no tongue and groove joints. There might be staining from rusted nails too.
If you have face-nailed planks, make sure no nails are sticking up. Protruding nails mean that the boards are probably not fixed down as tightly as they should be. Also, any nails protruding above the planks are guaranteed to rip and damage the sandpaper, which will make sanding the floor a frustrating, time-consuming task. Carefully knocking nails back in with a hammer and punch will usually work, or you can replace them with a screw if that doesn’t work. This should cure any squeaks and allow you to sand your floor quickly and efficiently.
Filling Gaps
With face-nailed pine flooring, there will be gaps between the boards, and these gaps may have increased where the planks have shrunk and moved over the years. Dramatic or uneven gaps can be unappealing and will let in drafts.
You can fill the gaps with wood slivers or putty mixed with sawdust, but the finished appearance of this might not be as appealing and authentic looking as you’d like. Also, your floor will never stop moving due to changes in moisture content of the boards, so this this gap-filling might not be a long-term fix.
If there are large gaps, you could carefully lift and move the boards to reduce the gaps; however, this is quite an undertaking — it’s labour-intensive and time-consuming.
Tar Paint
If you’ve uncovered original pine flooring, you may find that the edges of the room have been painted with tar. This was common practice when it was installed to protect it from any damp coming from the walls, which was a frequent problem with properties built at this time. This tar paint will need more intensive sanding to get it back to bare timber.
Sand Back the Floor
Sand the floor to strip away the dirty, stained surface of your pine floorboards. Normally, we’d suggest no more than a couple of millimetres; this should create a traditional pine flooring aesthetic. It will appear cleaner, but some staining or discolouration may remain in some places, giving the floor a reclaimed rustic look. That said, it really depends on the condition of the floor.
Pine is softer than oak, so be careful with the sanding. It’s very easy to sand away too much of the board which can weaken the floor. It’s worth checking the thickness of your planks so you’re aware of exactly how much sanding is possible, bearing in mind that generally planks should be at least 18mm thick when fitted directly to joists. You can get away with less if the joist centres are closer together; if you’re unsure, it’s always worth getting an expert opinion. Assuming all is well and the planks are thick enough, you can start the process of sanding back your Victorian pine flooring.
The Sanding Process
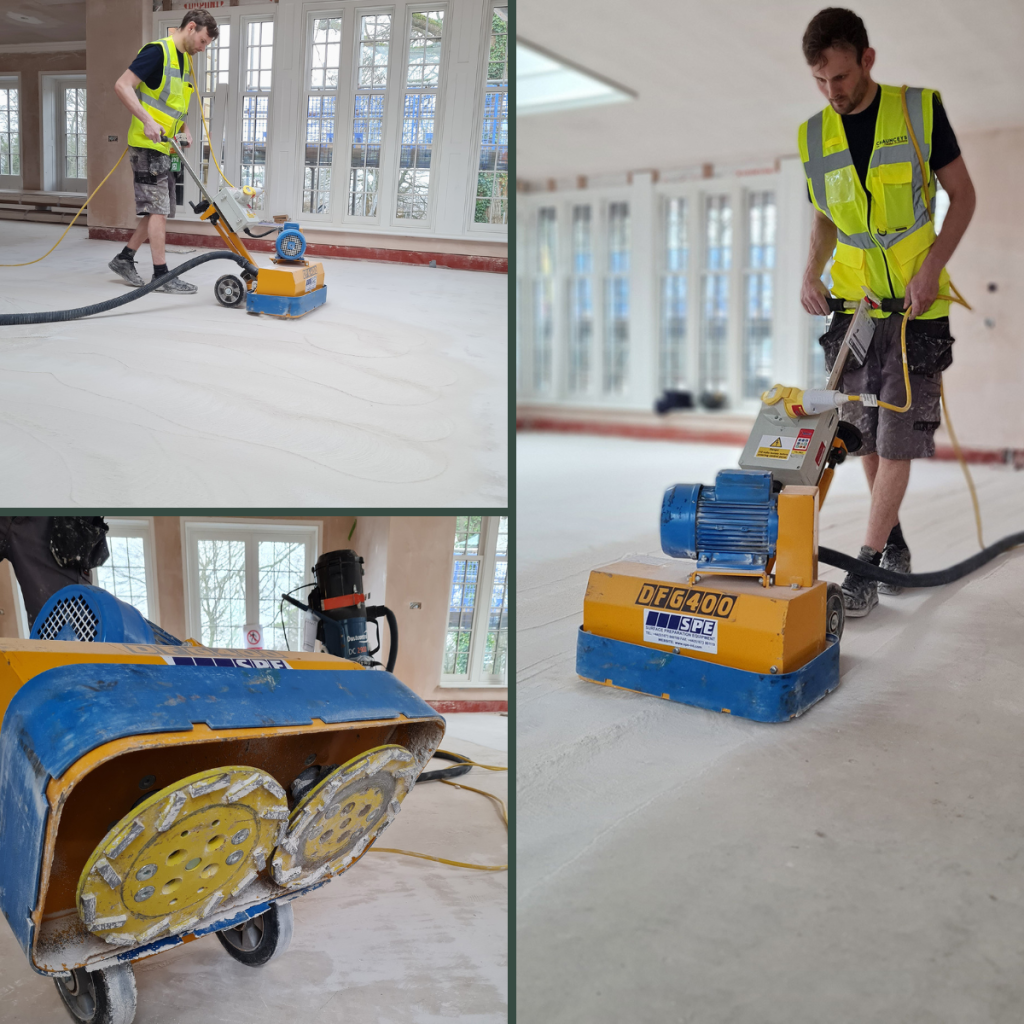
If your floor is very dirty and discoloured, use a coarse grit (e.g. 40 grit) abrasive with a professional quality belt sander. This is the most effective way to achieve an evenly sanded floor; it will efficiently extract dust and create the best possible finish. A machine like this will make light work of sanding, so be careful not to over-sand your floor.
Next, go over with a finer grit abrasive, and then, to get the best finish, use a rotary machine with fine grit (e.g., 120 grit) buffing mesh to finish off the sanding process.
Use an edge sander along the edges of the room and a hand-held detail sander for corners and any areas that can’t be reached with the edge sander.
Once you’ve finished the sanding process, use a vacuum cleaner to remove all the dust particles from the floor’s surface. You’ll want your floor perfectly clean before you refinish it.
Sanding back wood flooring for a full refinish is best left to the professionals if you want to ensure the best possible finish. If you want to save yourself the hassle, get in touch with us for a refinishing quote. We’d be happy to refinish your wood flooring for you.
Paint or Stain
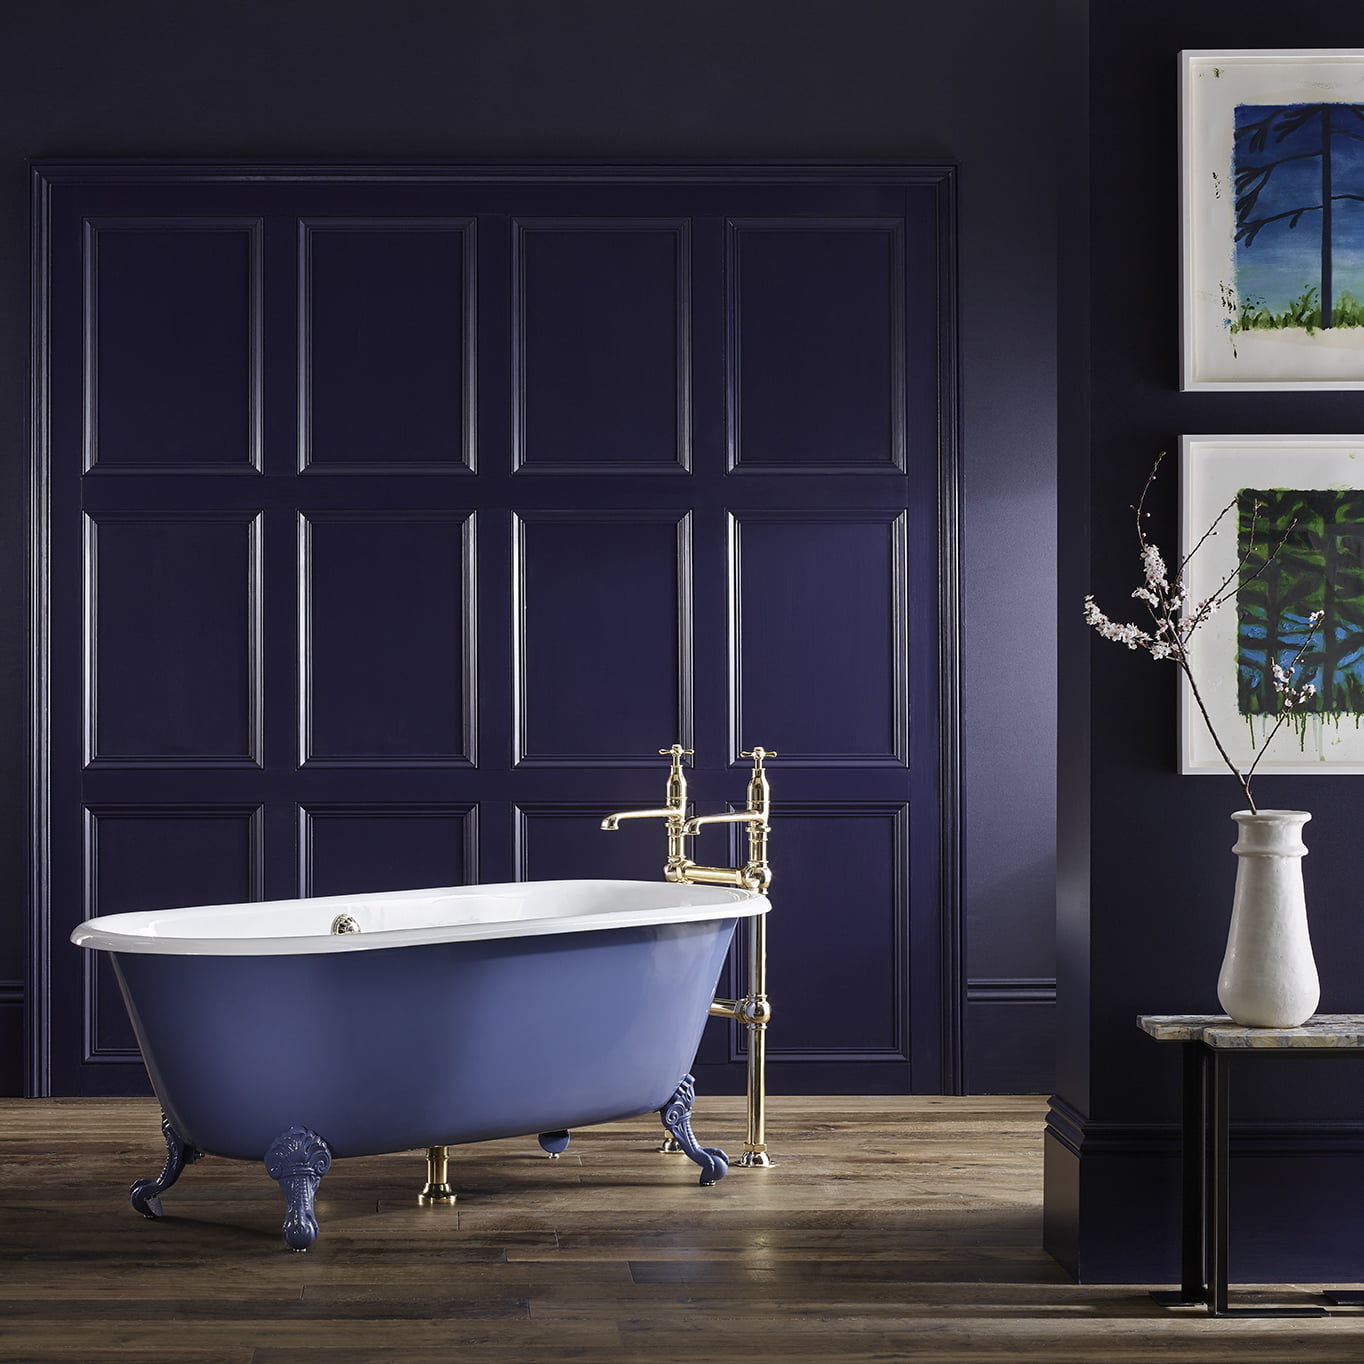
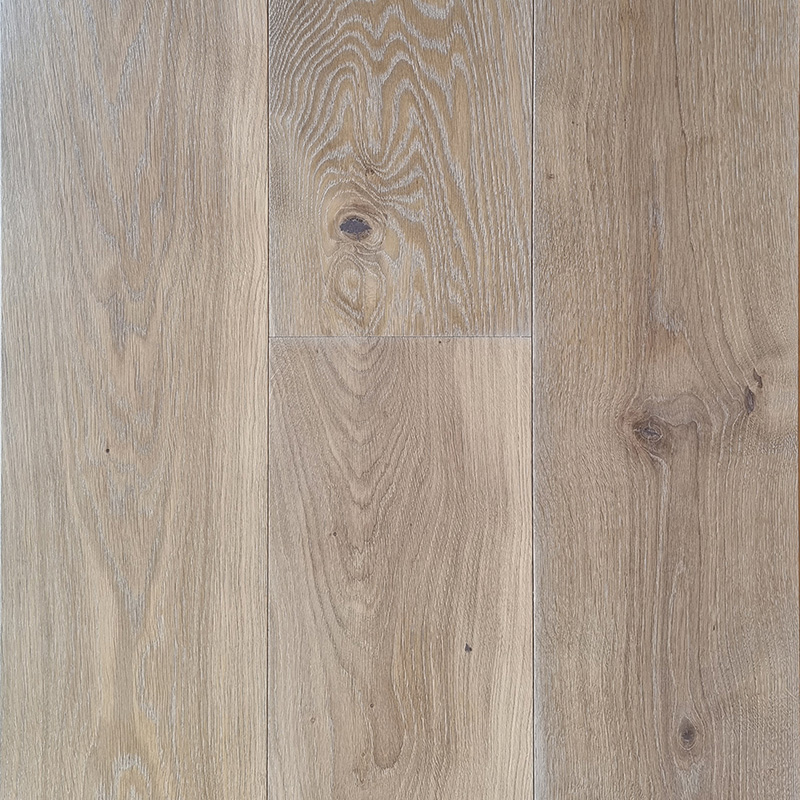
If you’re not fond of the natural tones offered by pine, you can choose to stain your flooring to achieve darker shades or go lighter with whitewash finishes. Once stained, you will need to finish your pine floor with a protective finish such as a hardwax oil or lacquer. There are plenty of floor staining and painting options available to help you achieve your desired aesthetic. Some flooring paints can achieve a wonderful low-maintenance shabby chic look.
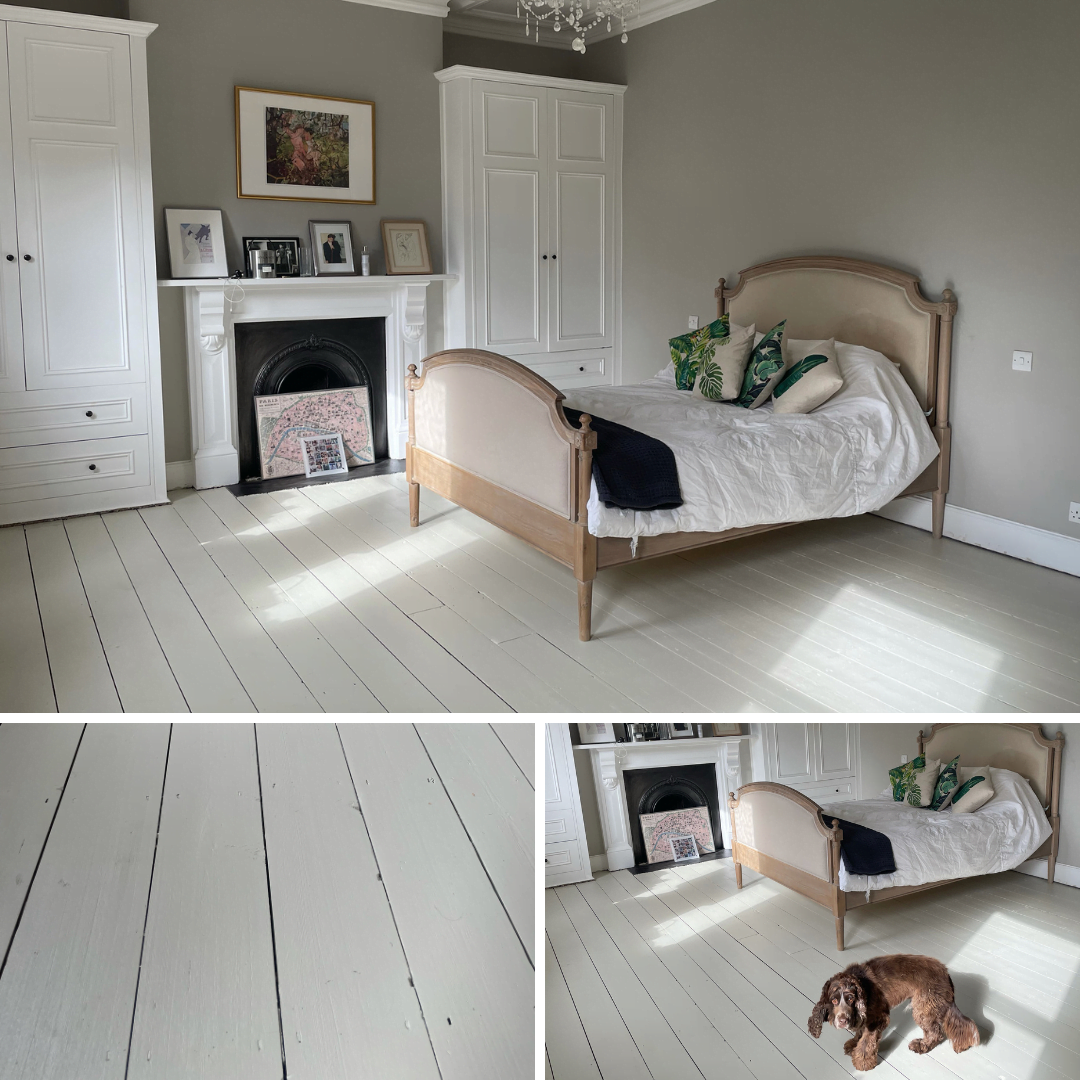
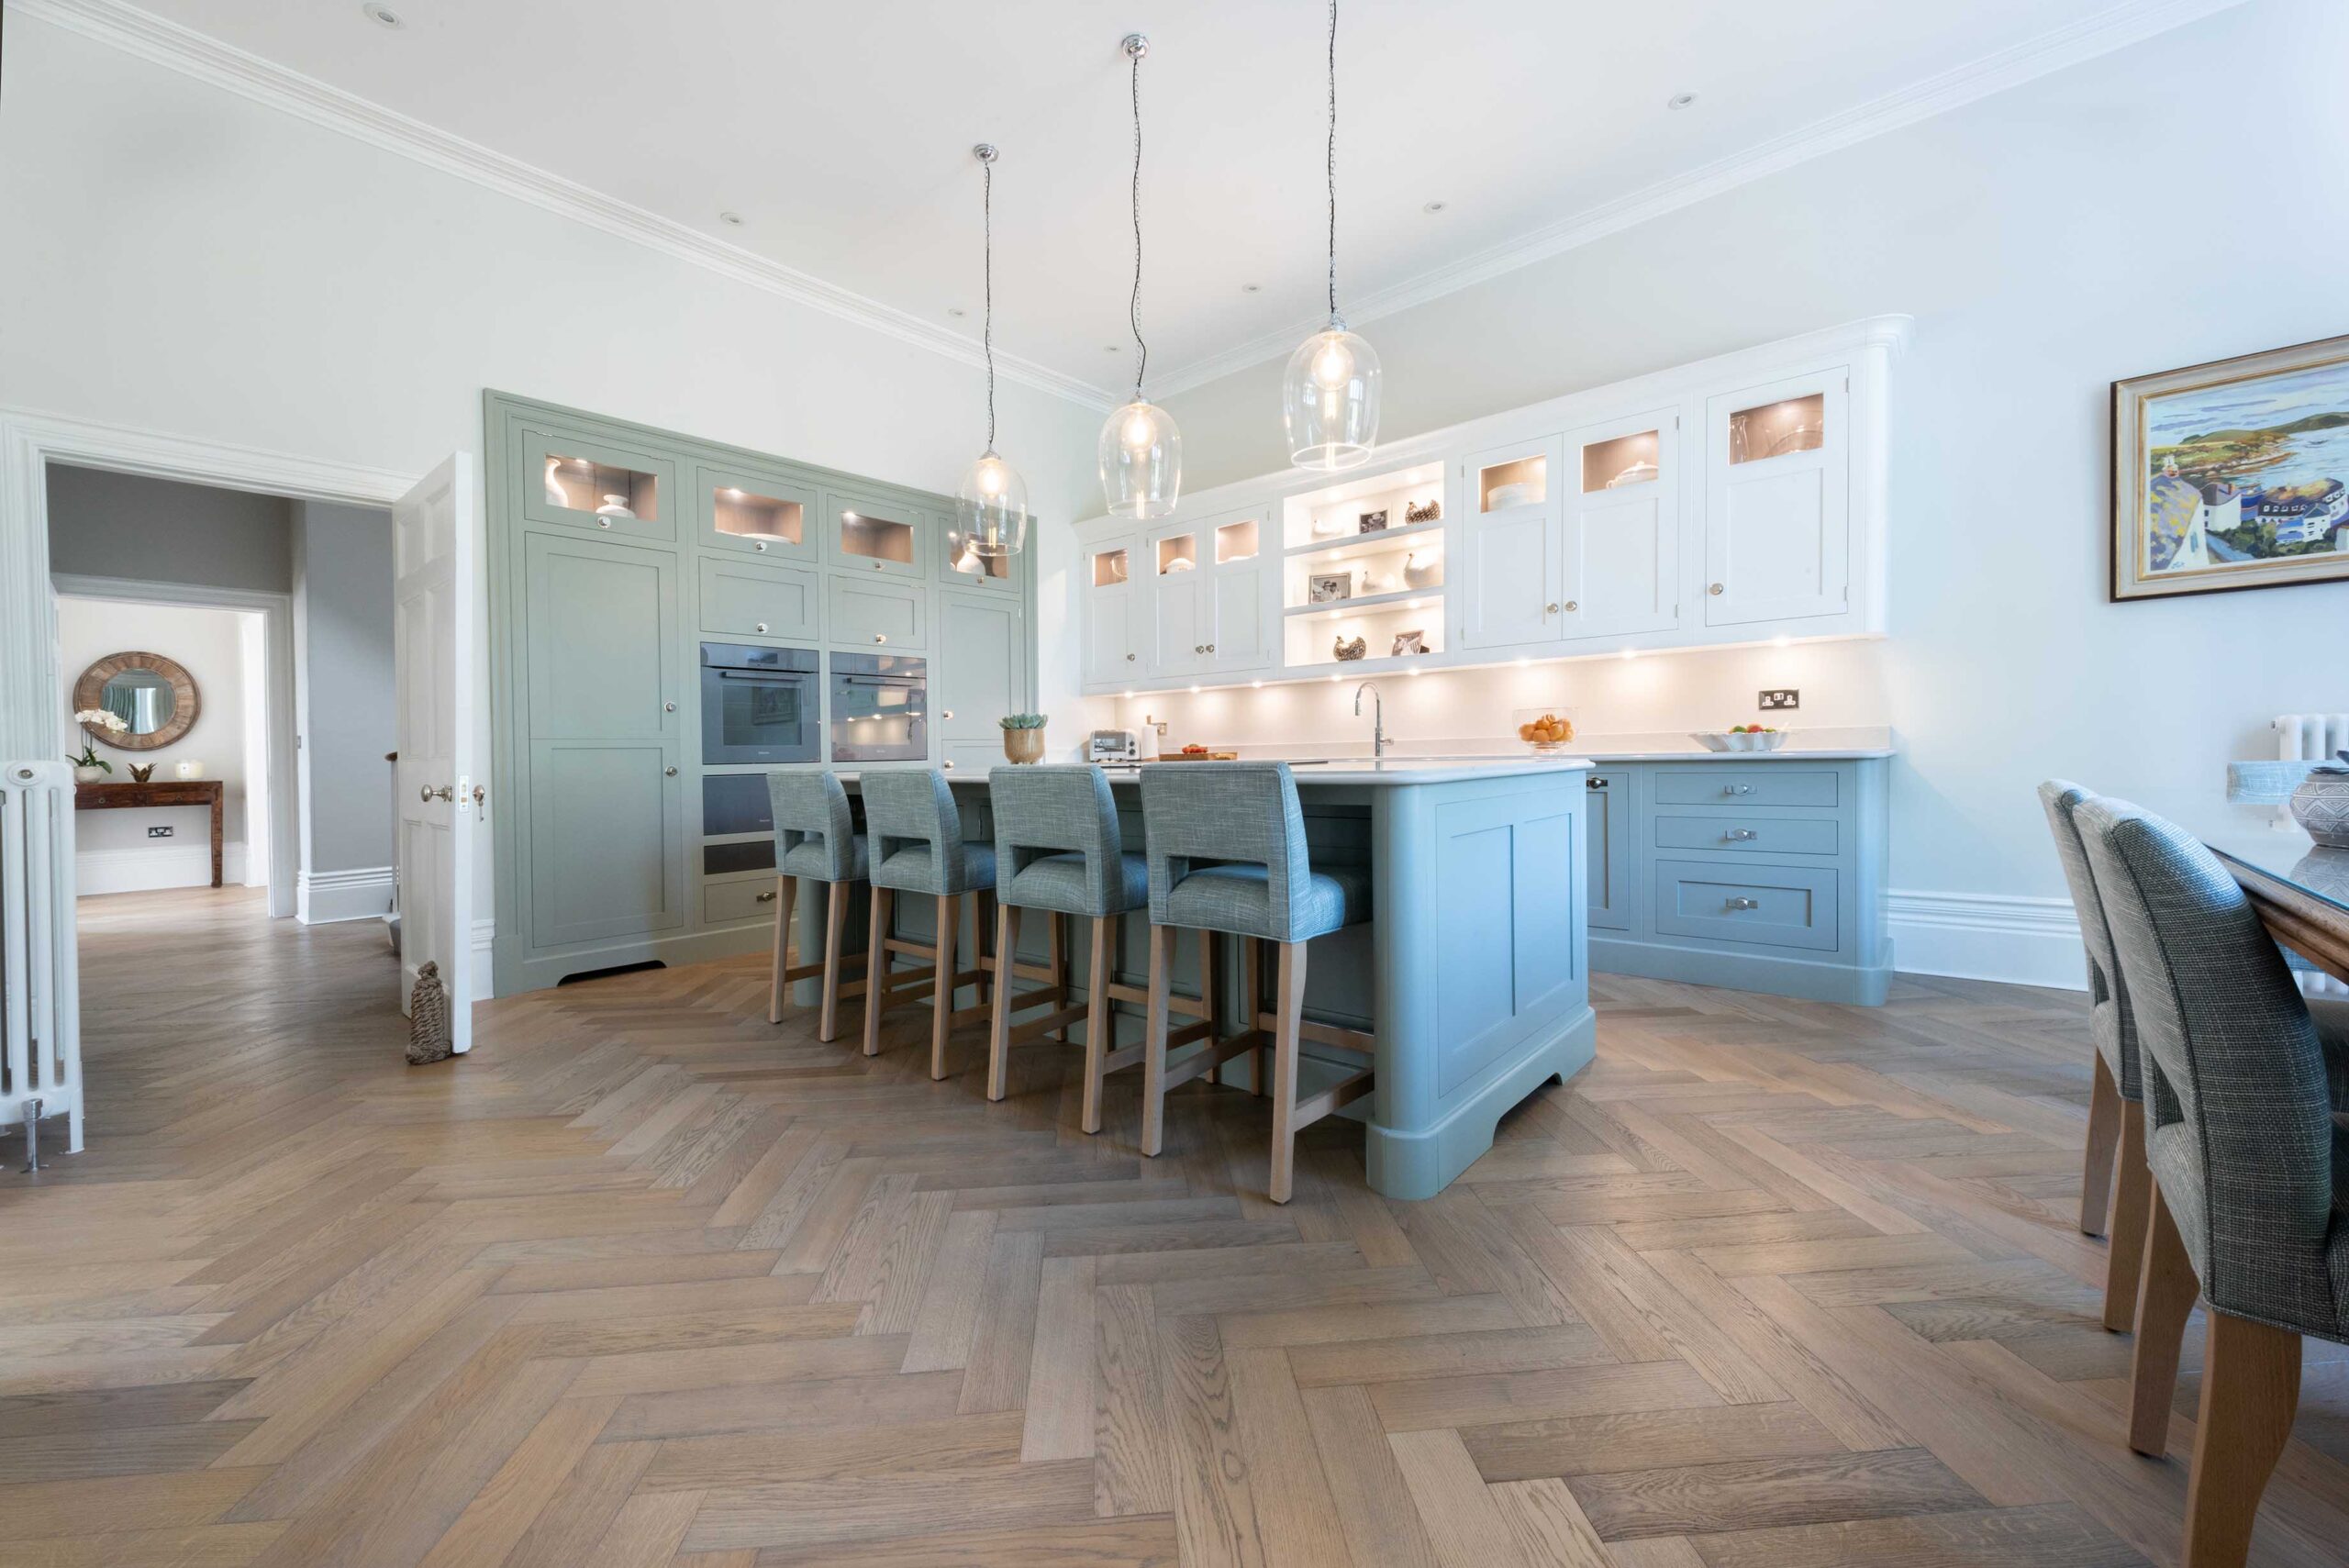
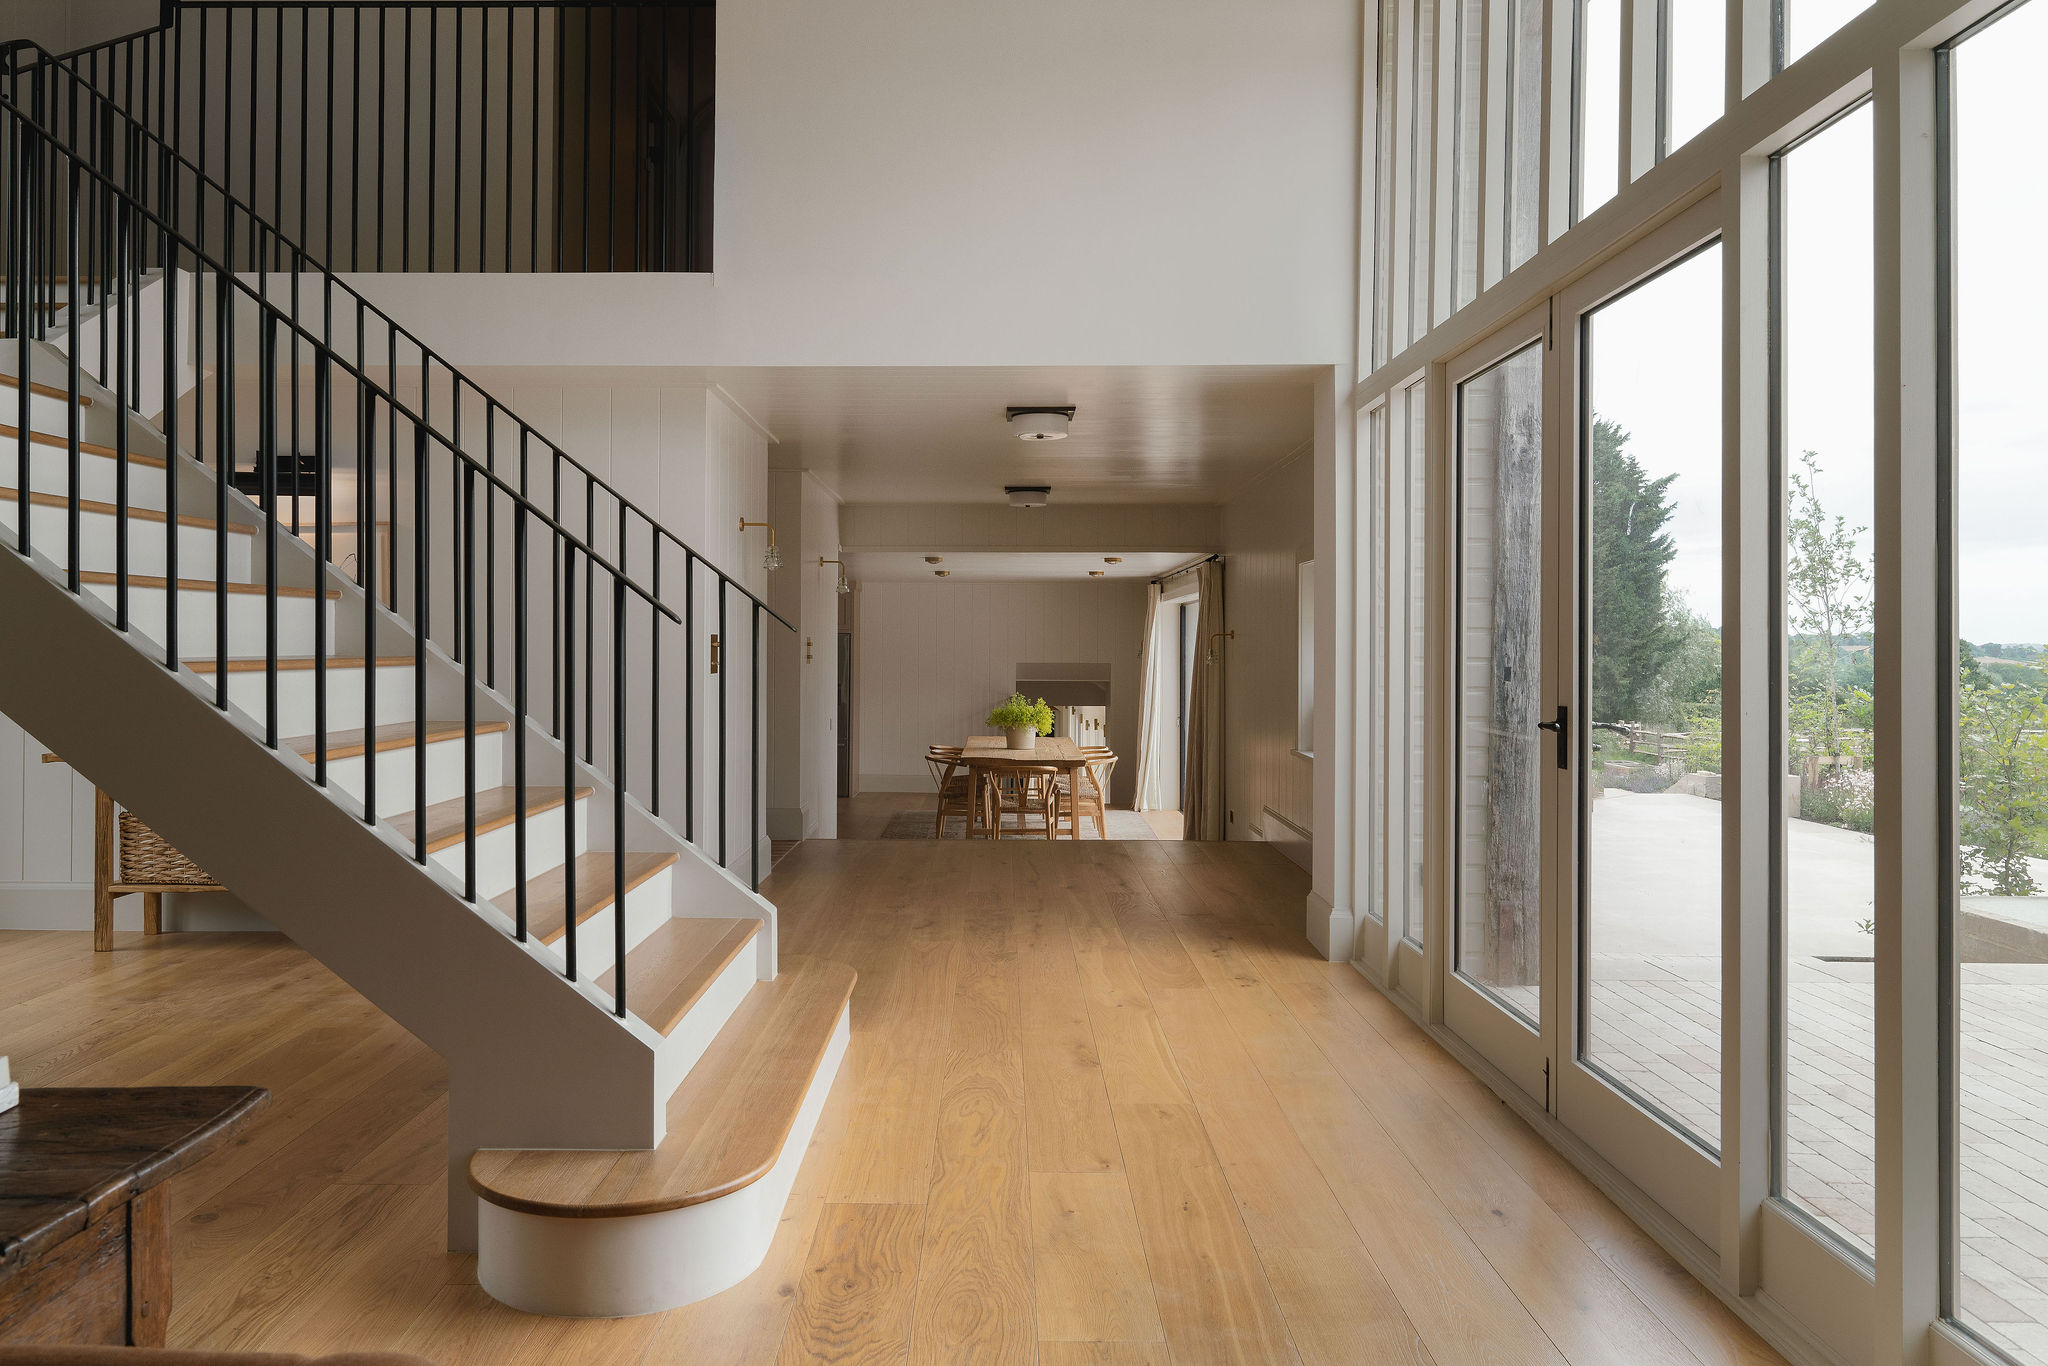
Stone Lime painted pine floorboards — the end result.
Or Simply Oil or Lacquer Your Pine Floorboards
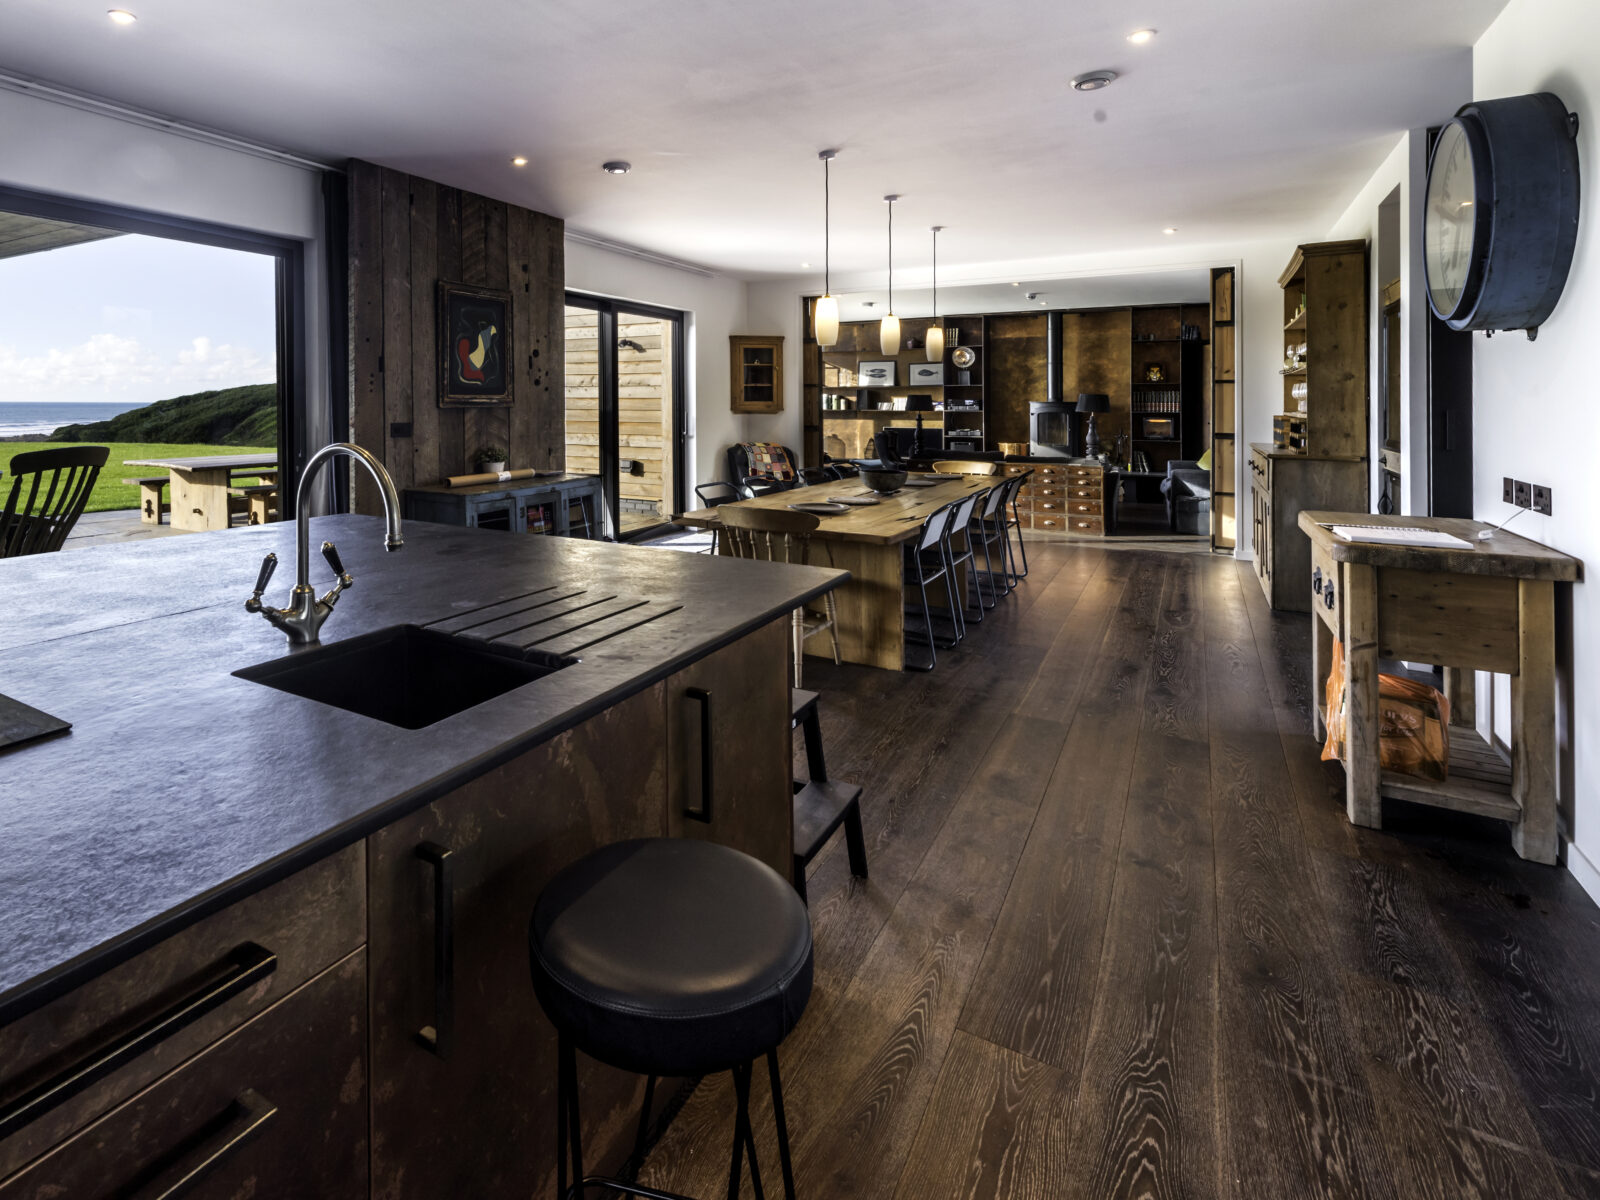
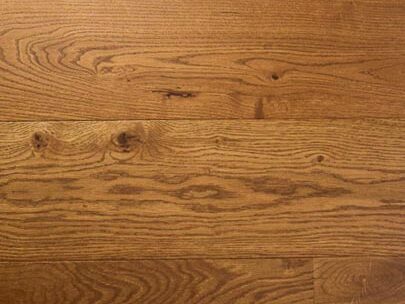
Depending on the type of hardwax oil you use, it will tend to deepen the natural golden tones of the pine, giving it a rich, warm tone which can vary between yellow and orange – these tones can darken over time and are not to everyone’s tastes. That said, there are some very good hardwax oils available with an ultra matt sheen which can achieve a more neutral colour. Lacquers, which sit on top of the wood, tend not to alter the natural tone of the wood as much and can give a lighter tone too.
Any Questions?
If you need any further advice on refreshing an old pine floor, feel free to contact our friendly, knowledgeable customer service team.