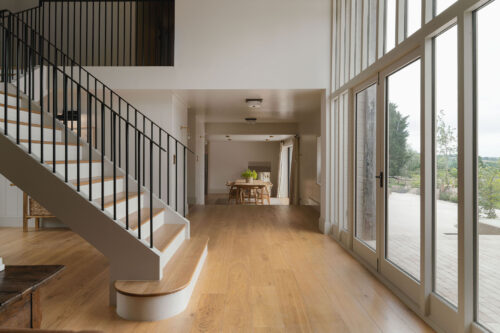
How to Fit Parquet Flooring

Planning
Skirting boards are best fitted after installation of the wooden floor as they will cover the expansion gap (approx 15mm) left around the perimeter of the room. Wooden floors should be installed at the final stage, after any plastering or concrete has fully dried out (allow a minimum of 1 month for every inch depth of concrete, screed or render), and before decorating.
The blocks should be carefully spread out in small piles in the room where they are to be laid (or a similar adjoining room) to allow as full air circulation as possible. Full acclimatisation can take 2 – 3 weeks, depending on whether the blocks are new (i.e. kiln dried) or reclaimed. All wooden floors are liable to some expansion and contraction depending on the relative humidity within the building. This seasonal movement is a normal characteristic of wooden floors and it never stops, regardless of the age of the wooden floor. Central heating tends to dry the atmosphere and so may shrink the blocks very slightly during winter months.
To calculate the square metres required, multiply the length by the breadth of the room and then add 10 – 20% wastage depending on the size of the room (bigger rooms require less wastage), the number of cuts required and the pattern to be used.
N.B. We would always recommend using Chaunceys Herringbone Tectonic (engineered) over underfloor heating as they are more stable.

Laying Parquet Over Existing Solid Floors
Parquet blocks can be laid on numerous solid substrates such as concrete, dry screed, self-levelling compound or flooring grade plywood or chipboard, but never directly onto floorboards.
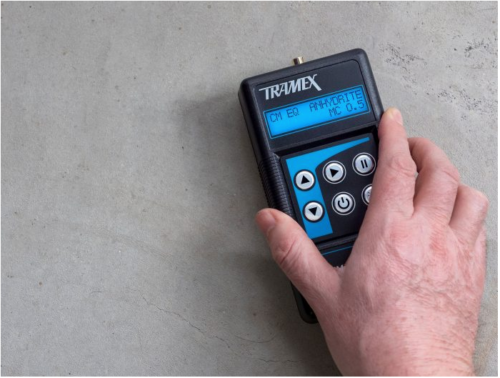
All substrates must be structurally sound, flat and dry. All new screed or concrete must be completely dry – allow at least1 month for every inch depth of new concrete. Existing screeds/concrete must be checked for moisture– this can easily be done by hiring a specialist meter (hygrometer).
A reading equal to or greater than 4%mc by volume indicates that a suitable damp-proof membrane must always be installed – either a 2 coat/2 part liquid layer (e.g. Rewmar or Sika) or a properly installed non-permeable layer (make sure the ends of the plastic are continued up into the walls to fully protect the wooden floor).
If the screed is between 2-4%mc it may be advisable to use one coat of the liquid DPM as a moisture barrier.

Installing Parquet
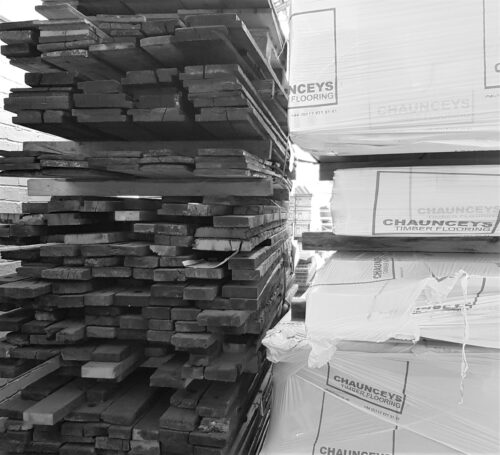
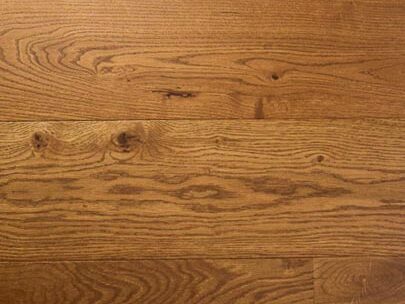
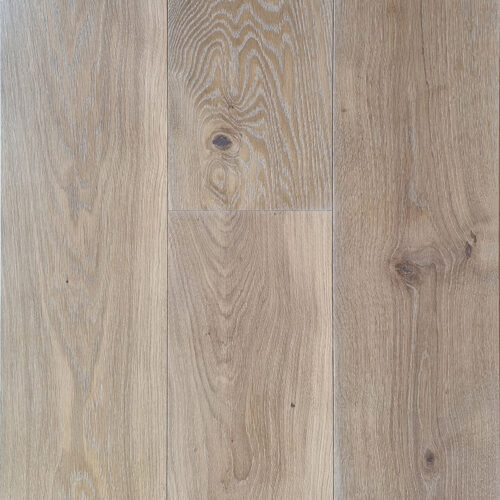
Reclaimed parquet blocks may have to be prepared: they may be dirty and have bitumen on the underside which may require scraping with a chisel or scraper if there are particularly thick areas. You don’t need to remove all the old adhesive – just any that is loose or particularly thick. Make sure the bed of new adhesive is thick enough to allow level placing of the blocks allowing for the maximum depth of the block and the old adhesive. The tongues and grooves need to be clear of any dirt or debris, again using a small chisel scraped along the edges to ensure a tight fit for the blocks when laid. Don’t be too concerned about dirt and surface scratches as that can be sanded out later.
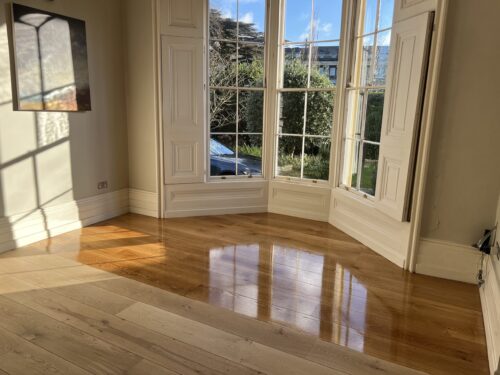
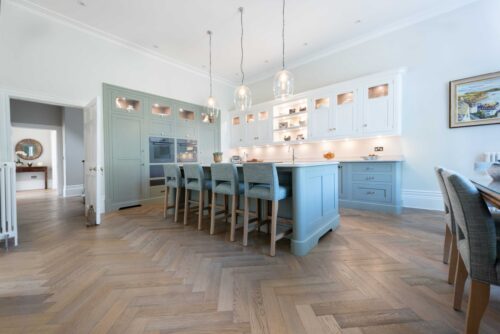
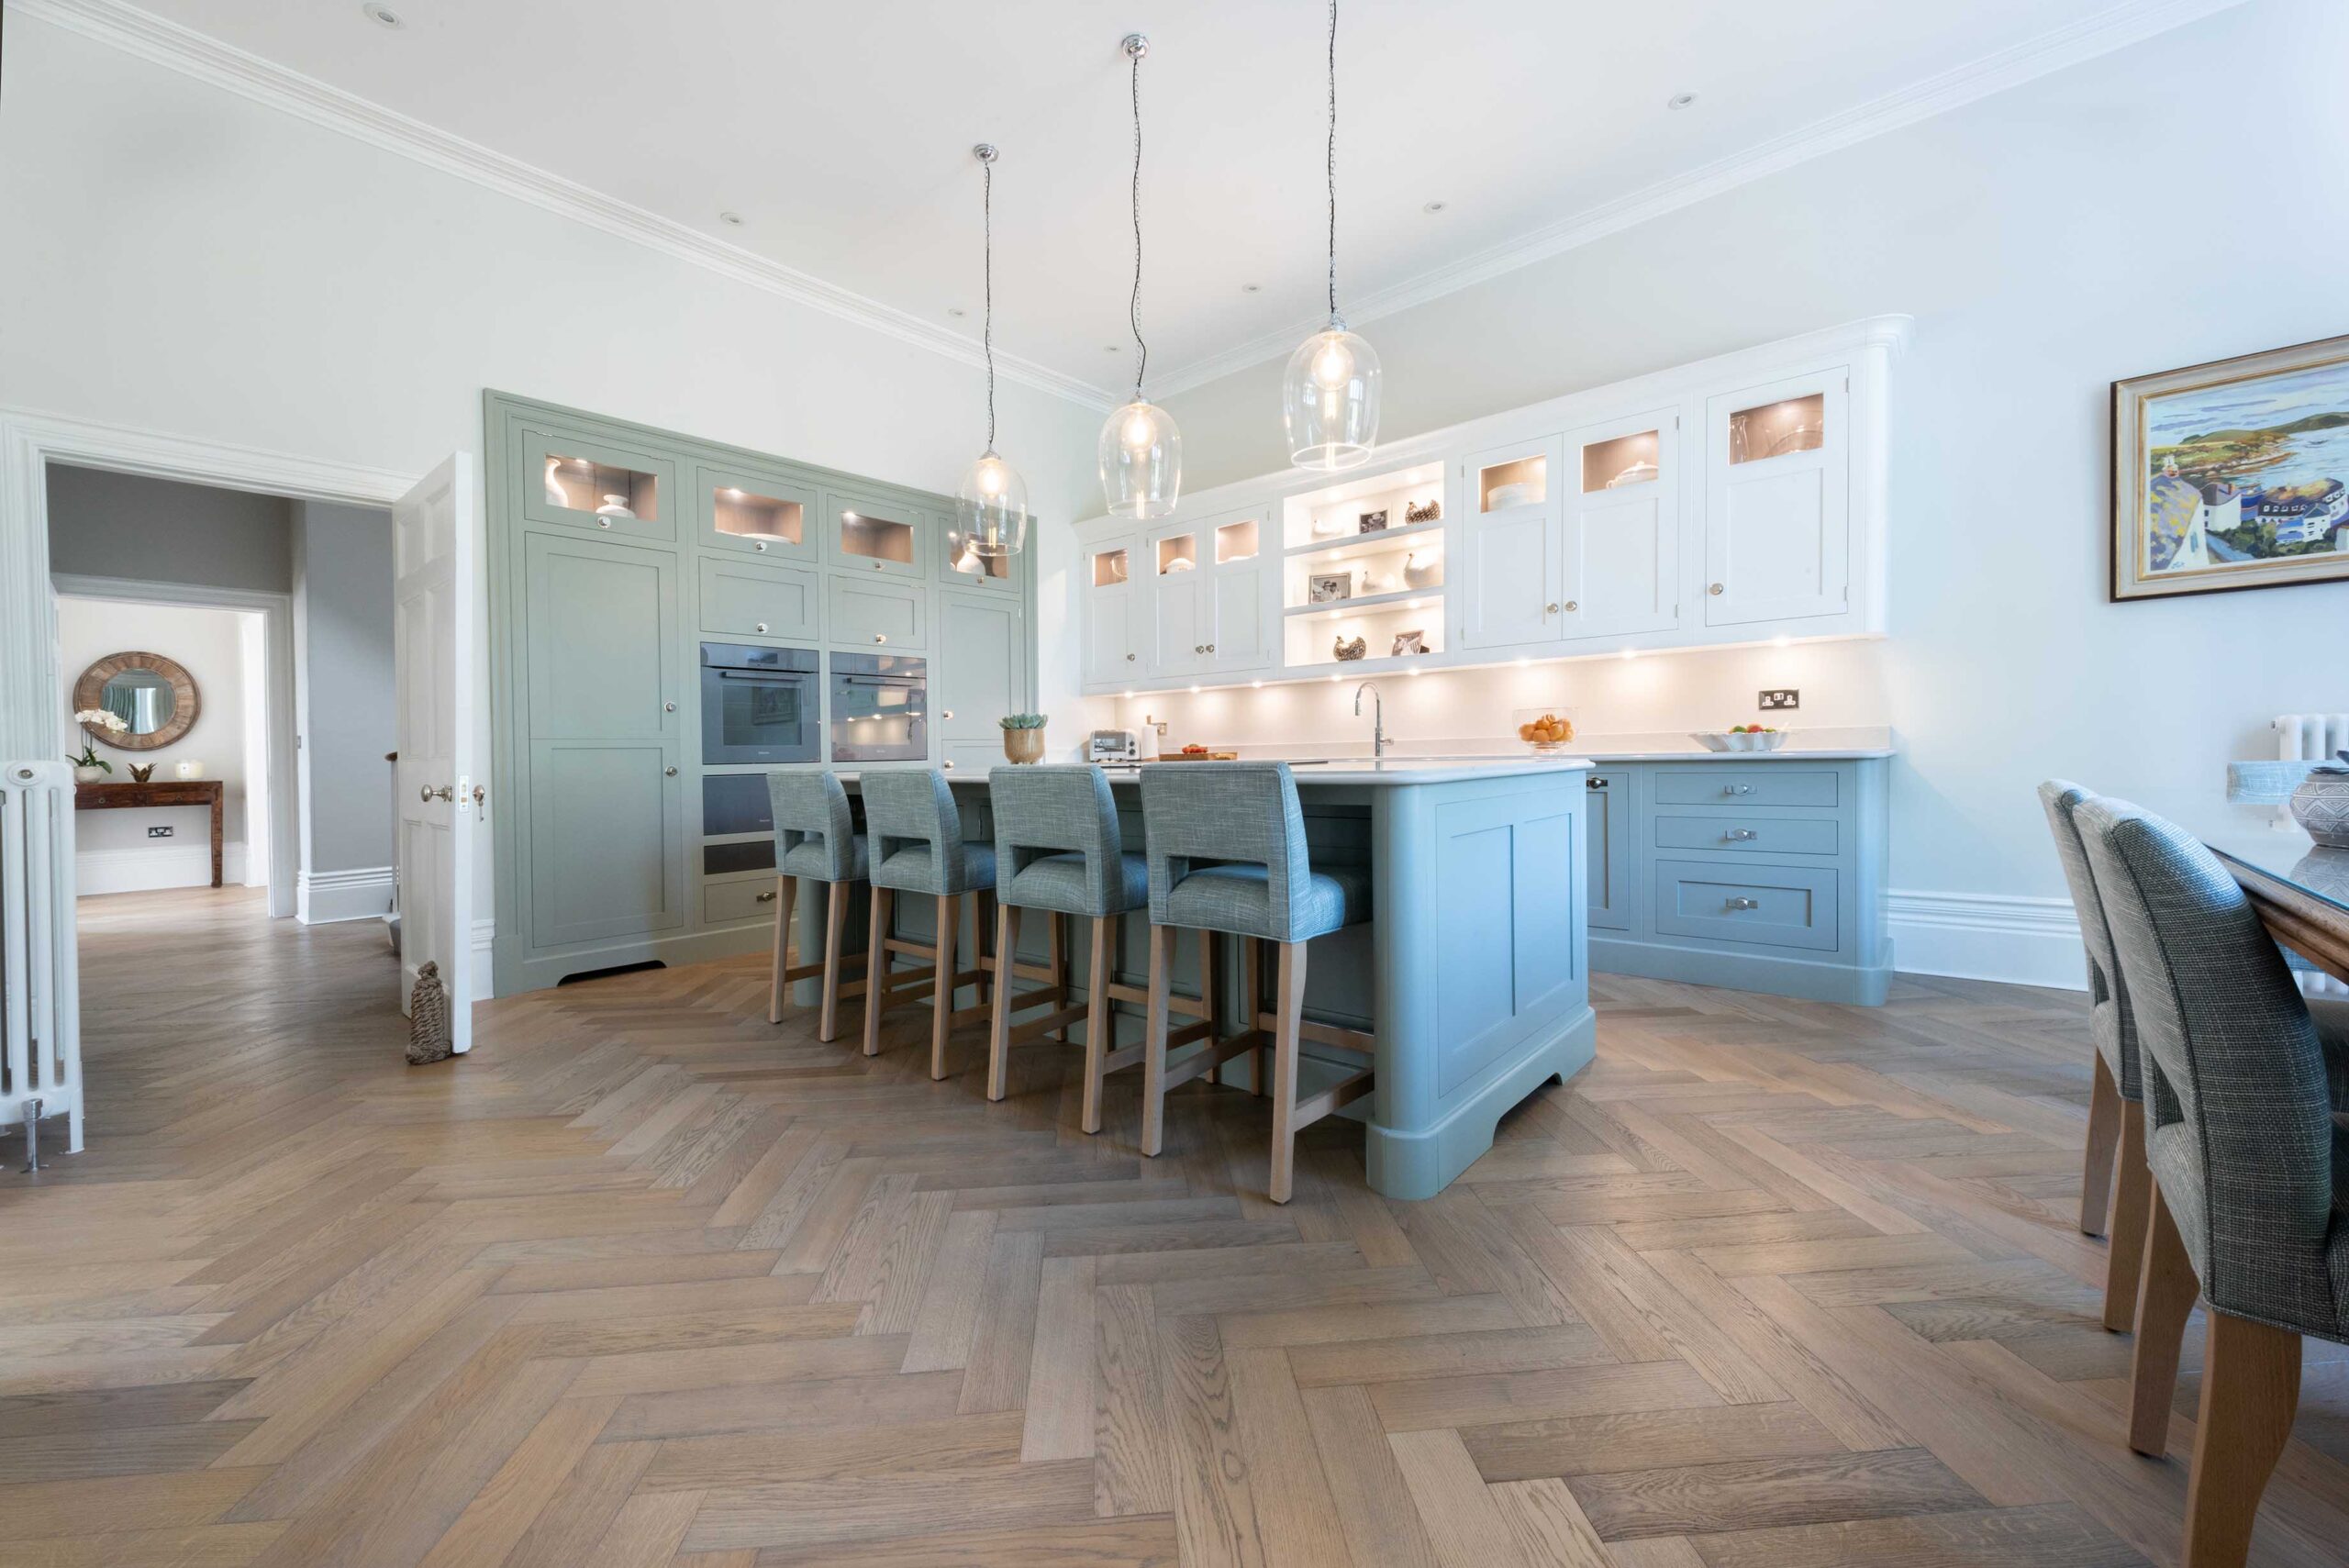
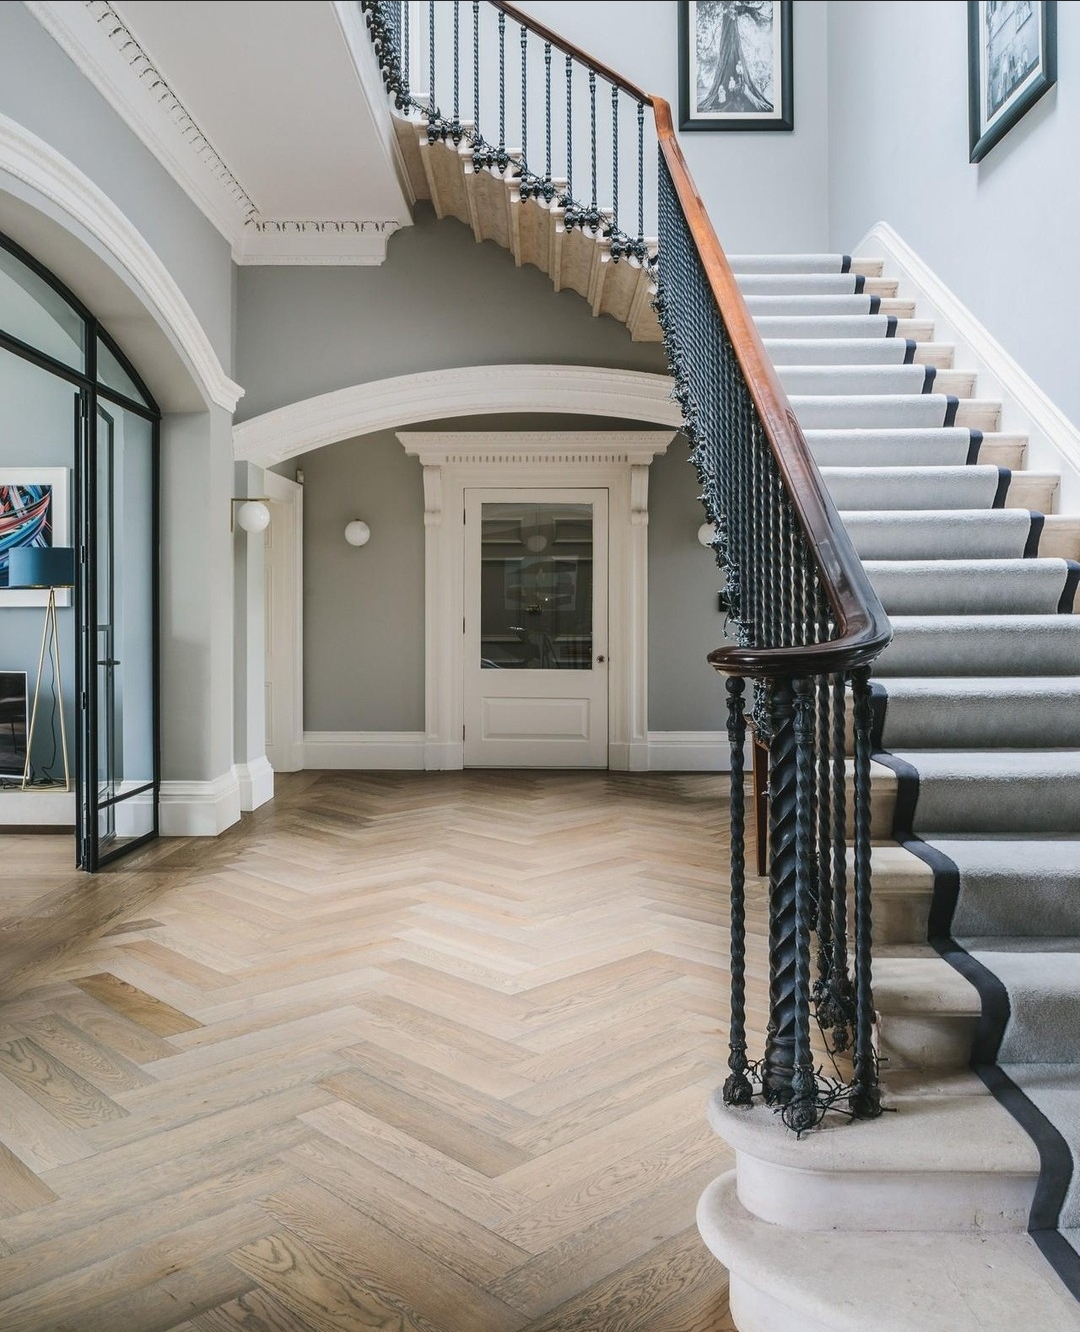
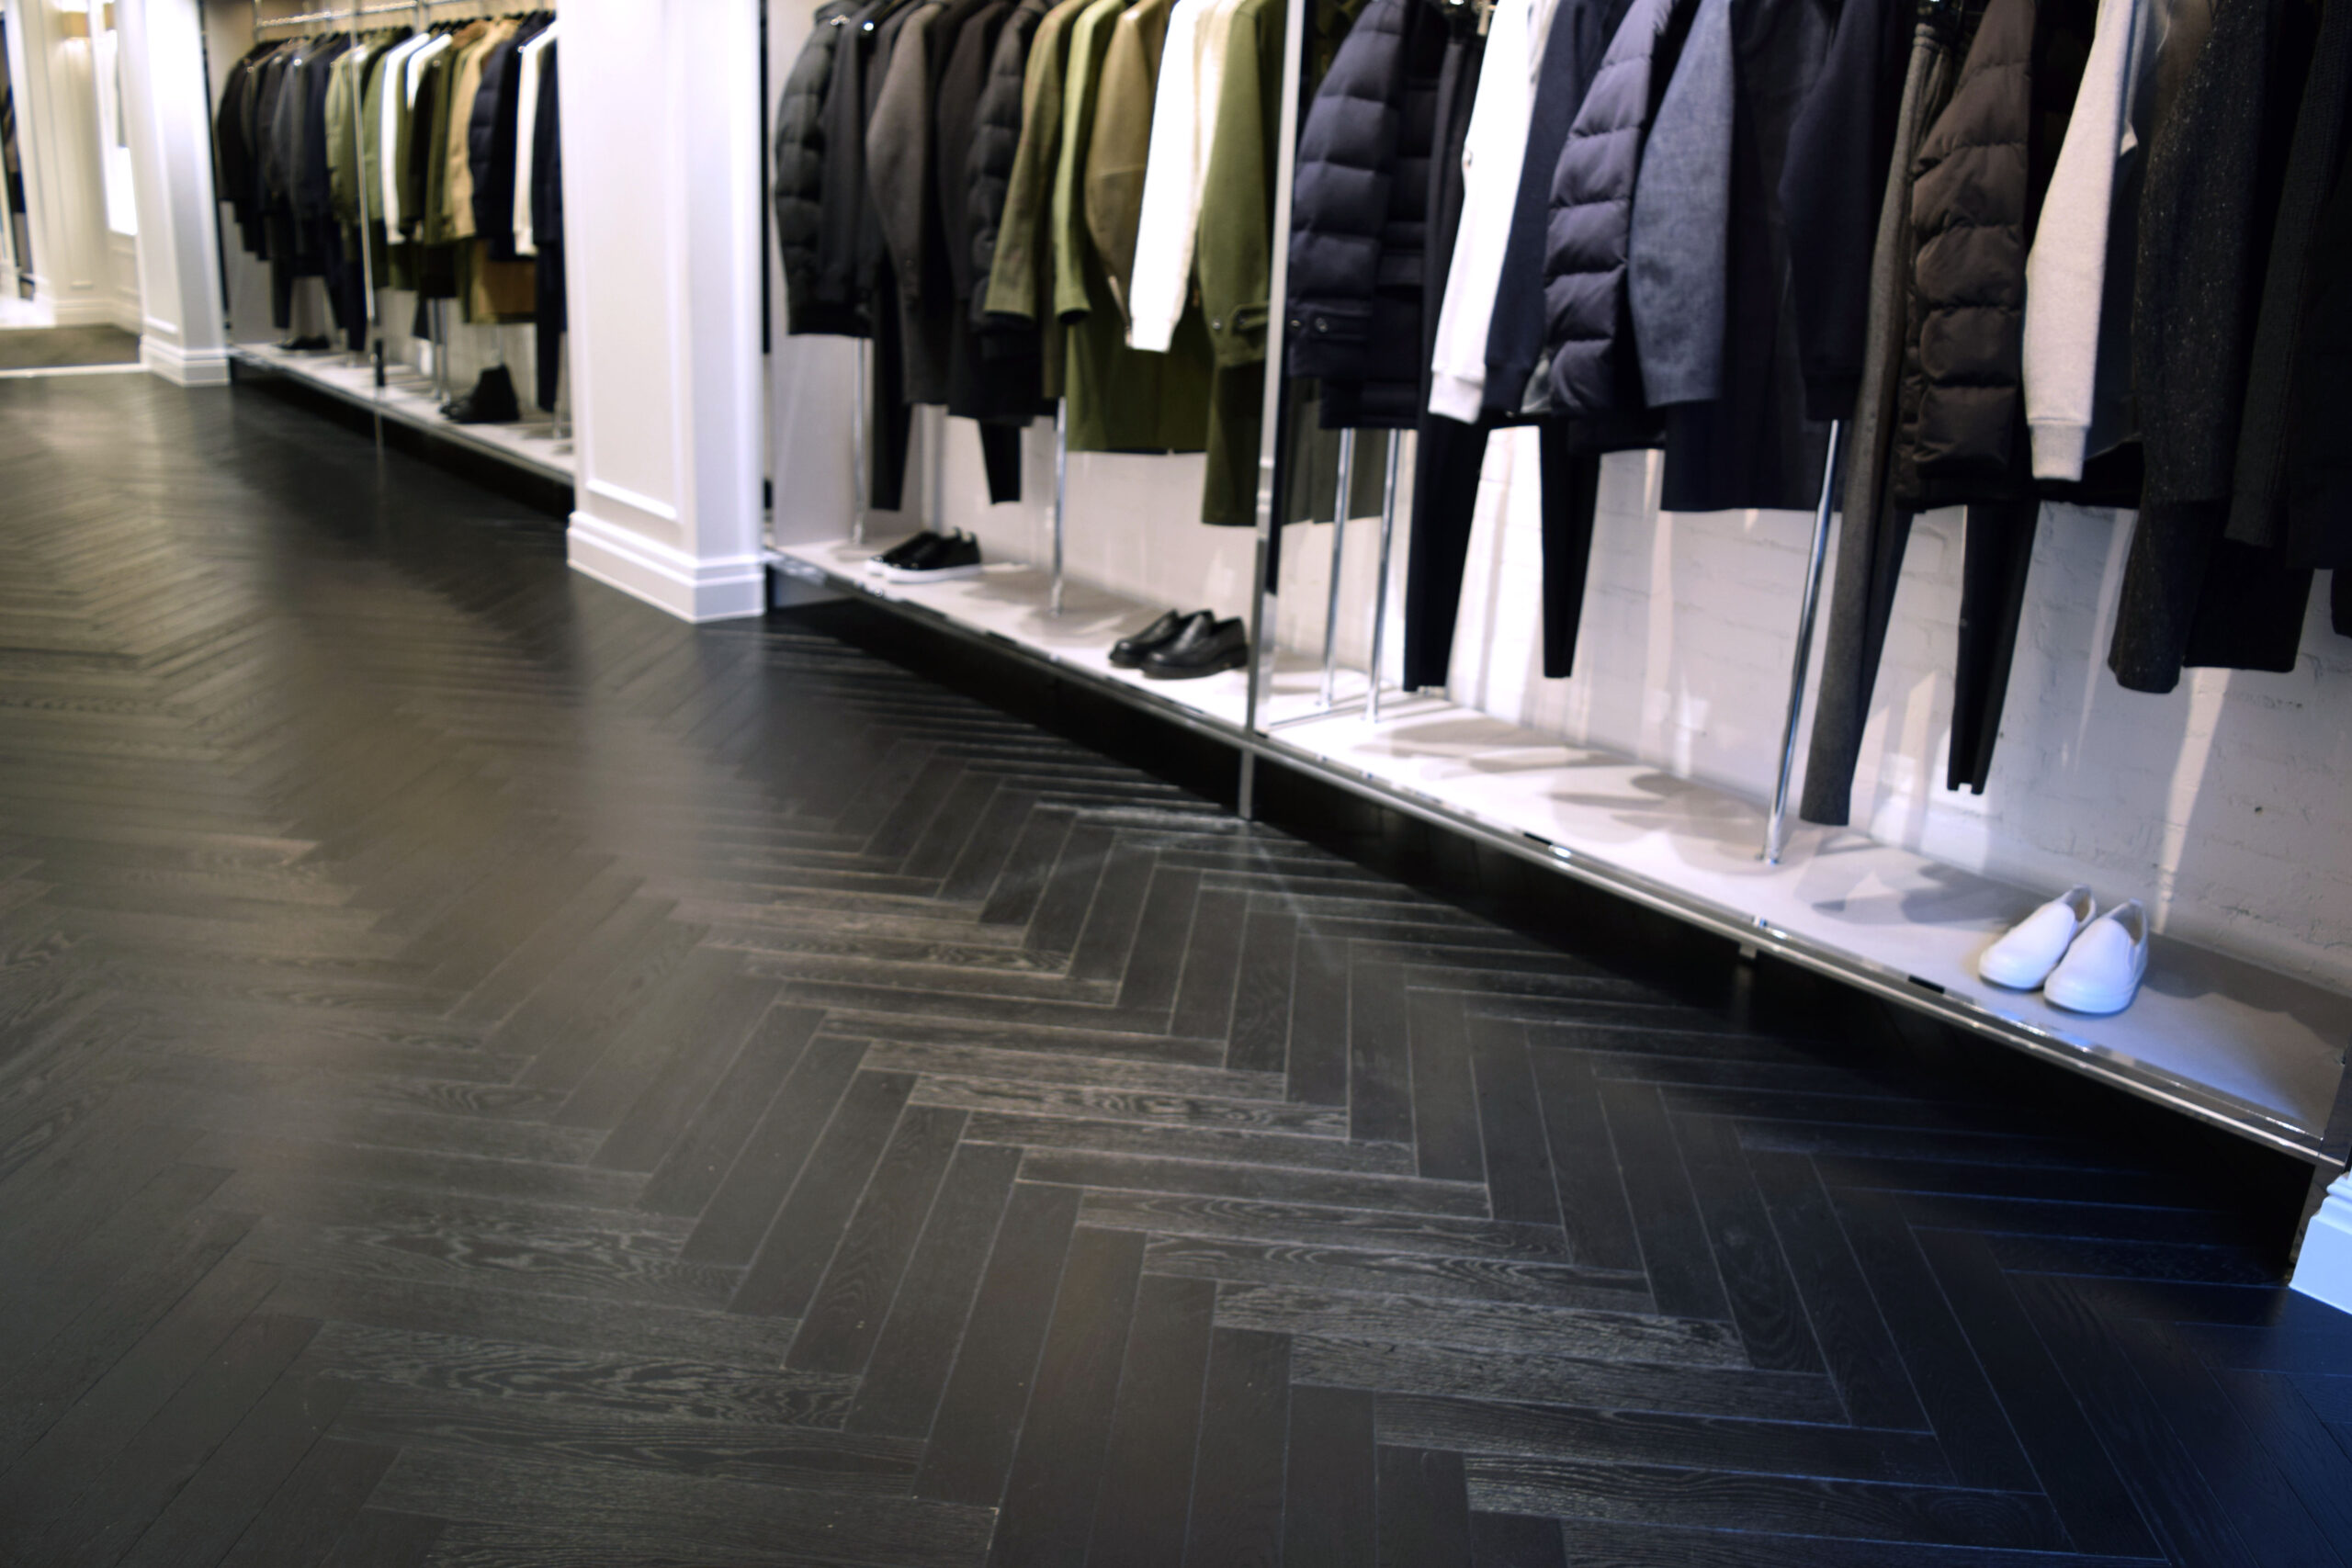
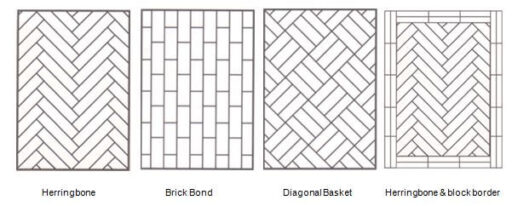
Once you have decided from the possible parquet pattern options (some of which are shown below) you should establish the central point from where you begin to lay the blocks, sometimes referred to as the ‘dragon line’. Then by dry laying a line of the pattern in the opposite direction you ensure there is an equal pattern of the parquet blocks across the floor. Then glue the blocks in place working a line at a time.
Remember to leave a 15mm expansion gap all round the edge of the room. This gap is traditionally covered by skirting but can also be covered by 19mm moulding, (fastened to the walls, not the floor) if the skirting is already in place.
Fixing Parquet
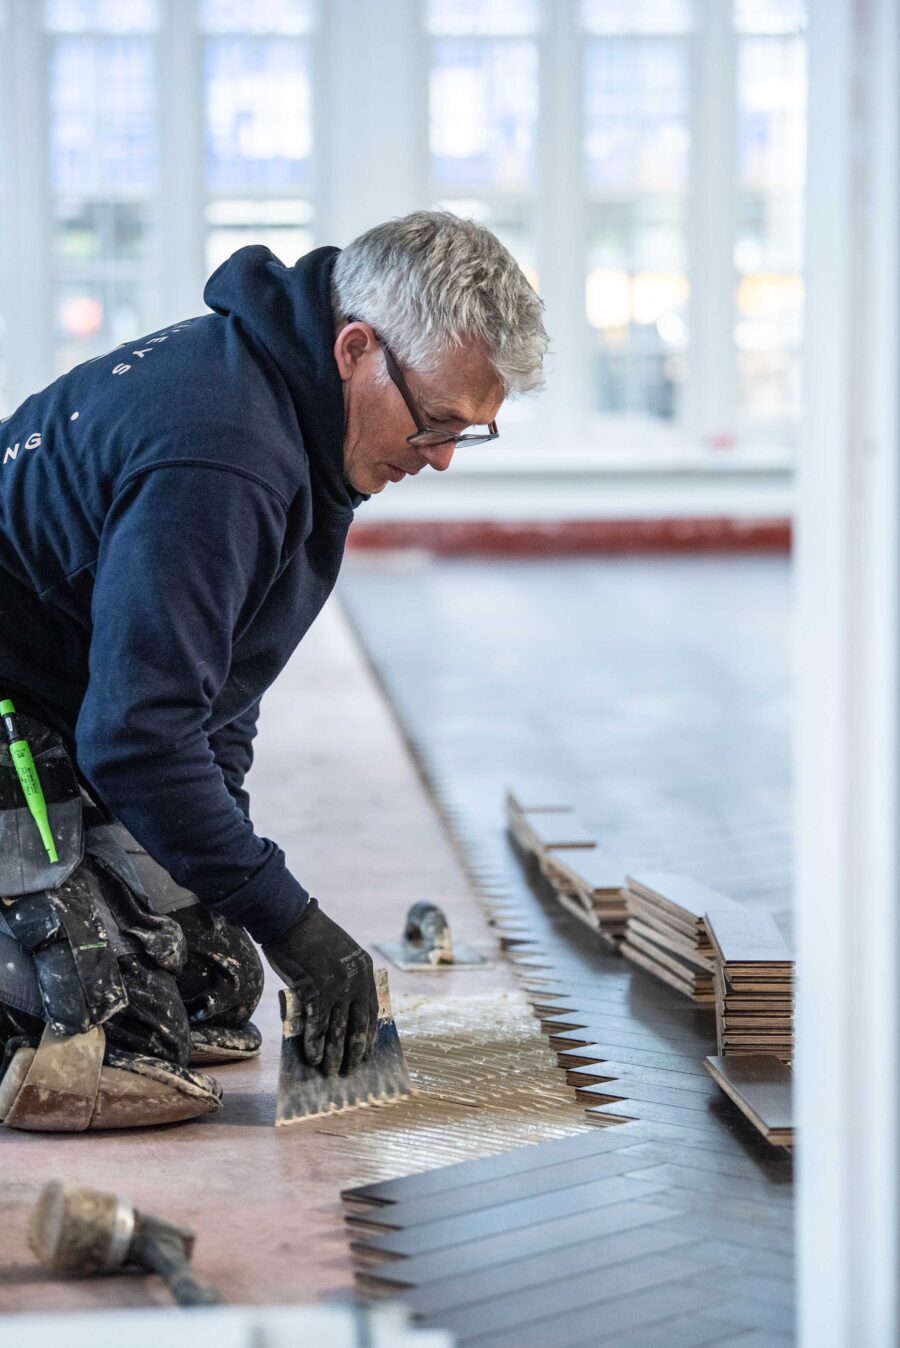
The only way of fixing block flooring is to glue the blocks to a solid surface.
You do not need to use a flexible adhesive when gluing blocks as they tend to be small pieces of wood and therefore any expansion or contraction is at a minimum. The rigid adhesive recommended is Lecol 5500. If you are installing new larger continental-style blocks it would be better to use a flexible adhesive such as Sikabond T54.
N.B. T54 adhesive cannot be used with old blocks which still have bitumen glue on them.
Sanding & Filling
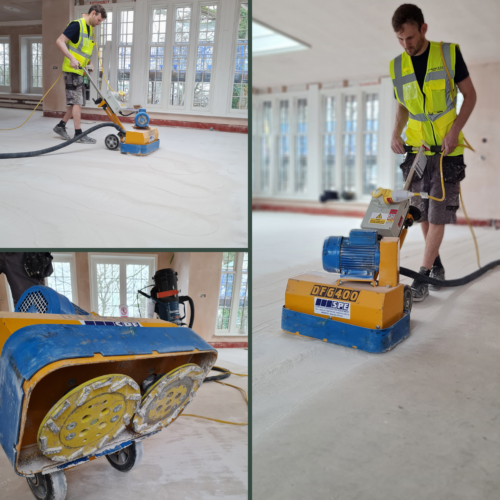
Sanding must be carried out carefully and methodically to avoid unsightly scores or ridges.
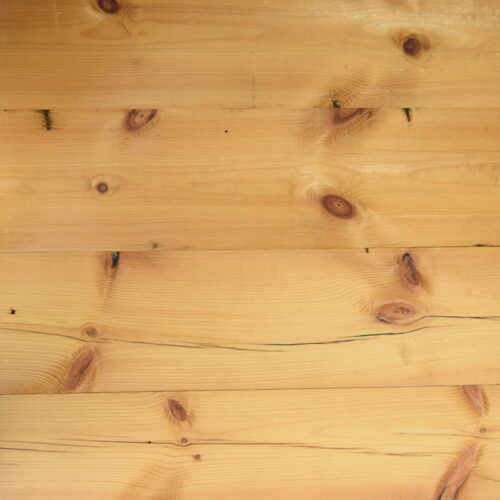
It is best to hire an orbital finishing sander for the main part of the room and also an edge sander. New blocks with a micro bevel all round may not need sanding at all, and those without a micro-bevel will require a fine sanding only. Reclaimed blocks may require slightly more sanding. If required any knots or blemishes can be filled with a wood filler. In order to get a good colour match, the ‘wood flour’ from the final fine sanding can be mixed with a clear resin (e.g. Lecol 7500). The areas filled will then need a final sanding before finishing.
Sealing
The best finishes to protect a hardwood floor are either a water-based lacquer or a hardwax oil.
Request a Fitting Quote
Chaunceys can provide an expert supply and fit service for you – please contact us for a hassle-free quote.