How to Install Interior Wood Cladding
Fitting interior wood cladding is a great way to give your walls some ‘wow’ — but how exactly should you go about installing timber cladding?
Which Direction to Fit Your cladding
Before you start, you’ll need to choose whether you want to install your cladding horizontally or vertically. Horizontal cladding is generally more popular and considered a more traditional choice; vertical cladding is less conventional but can add a sense of height to your interior. Both look fantastic — the choice is down to personal preference and the aesthetic you’re trying to achieve.
Fitting Reclaimed Timber Cladding
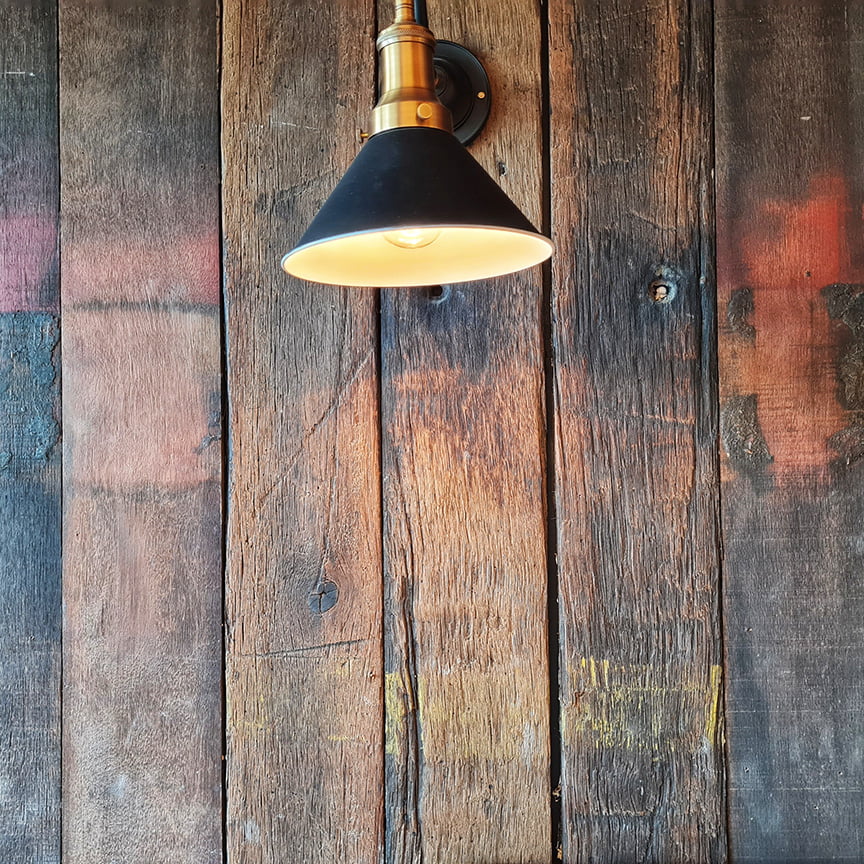
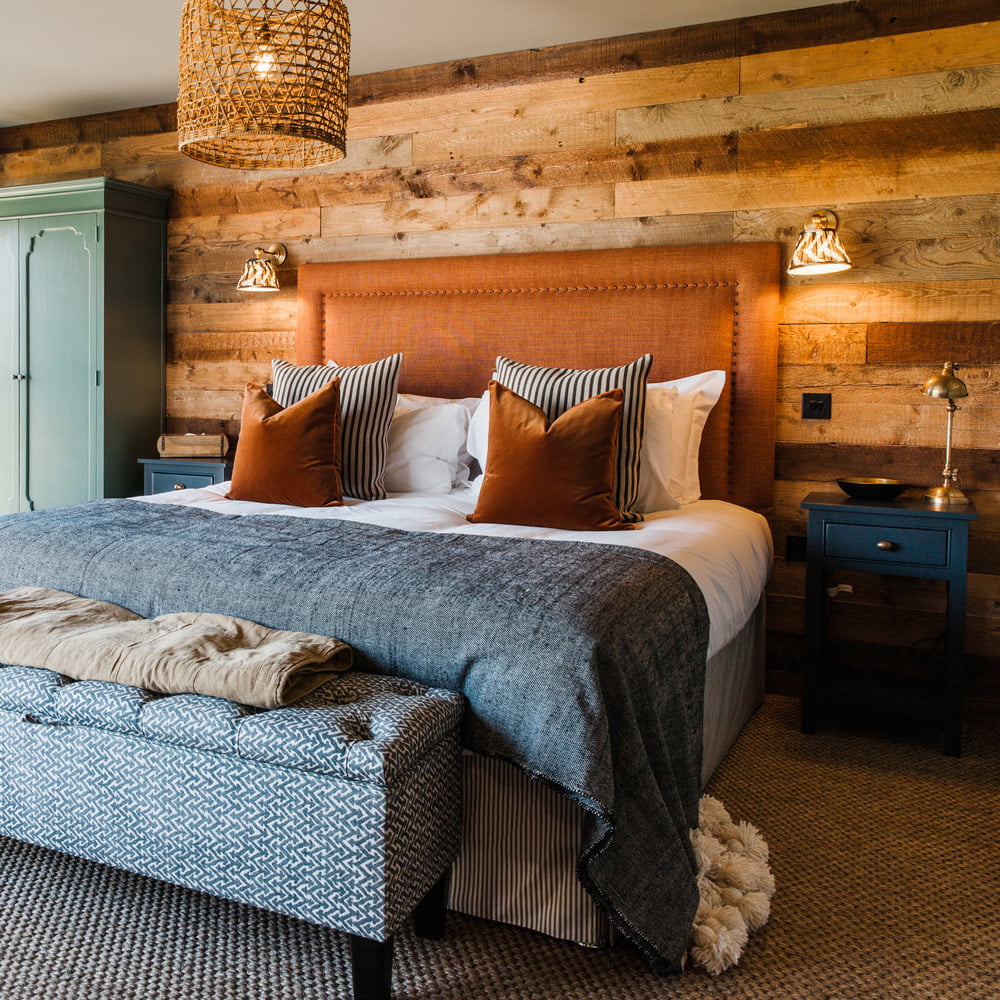
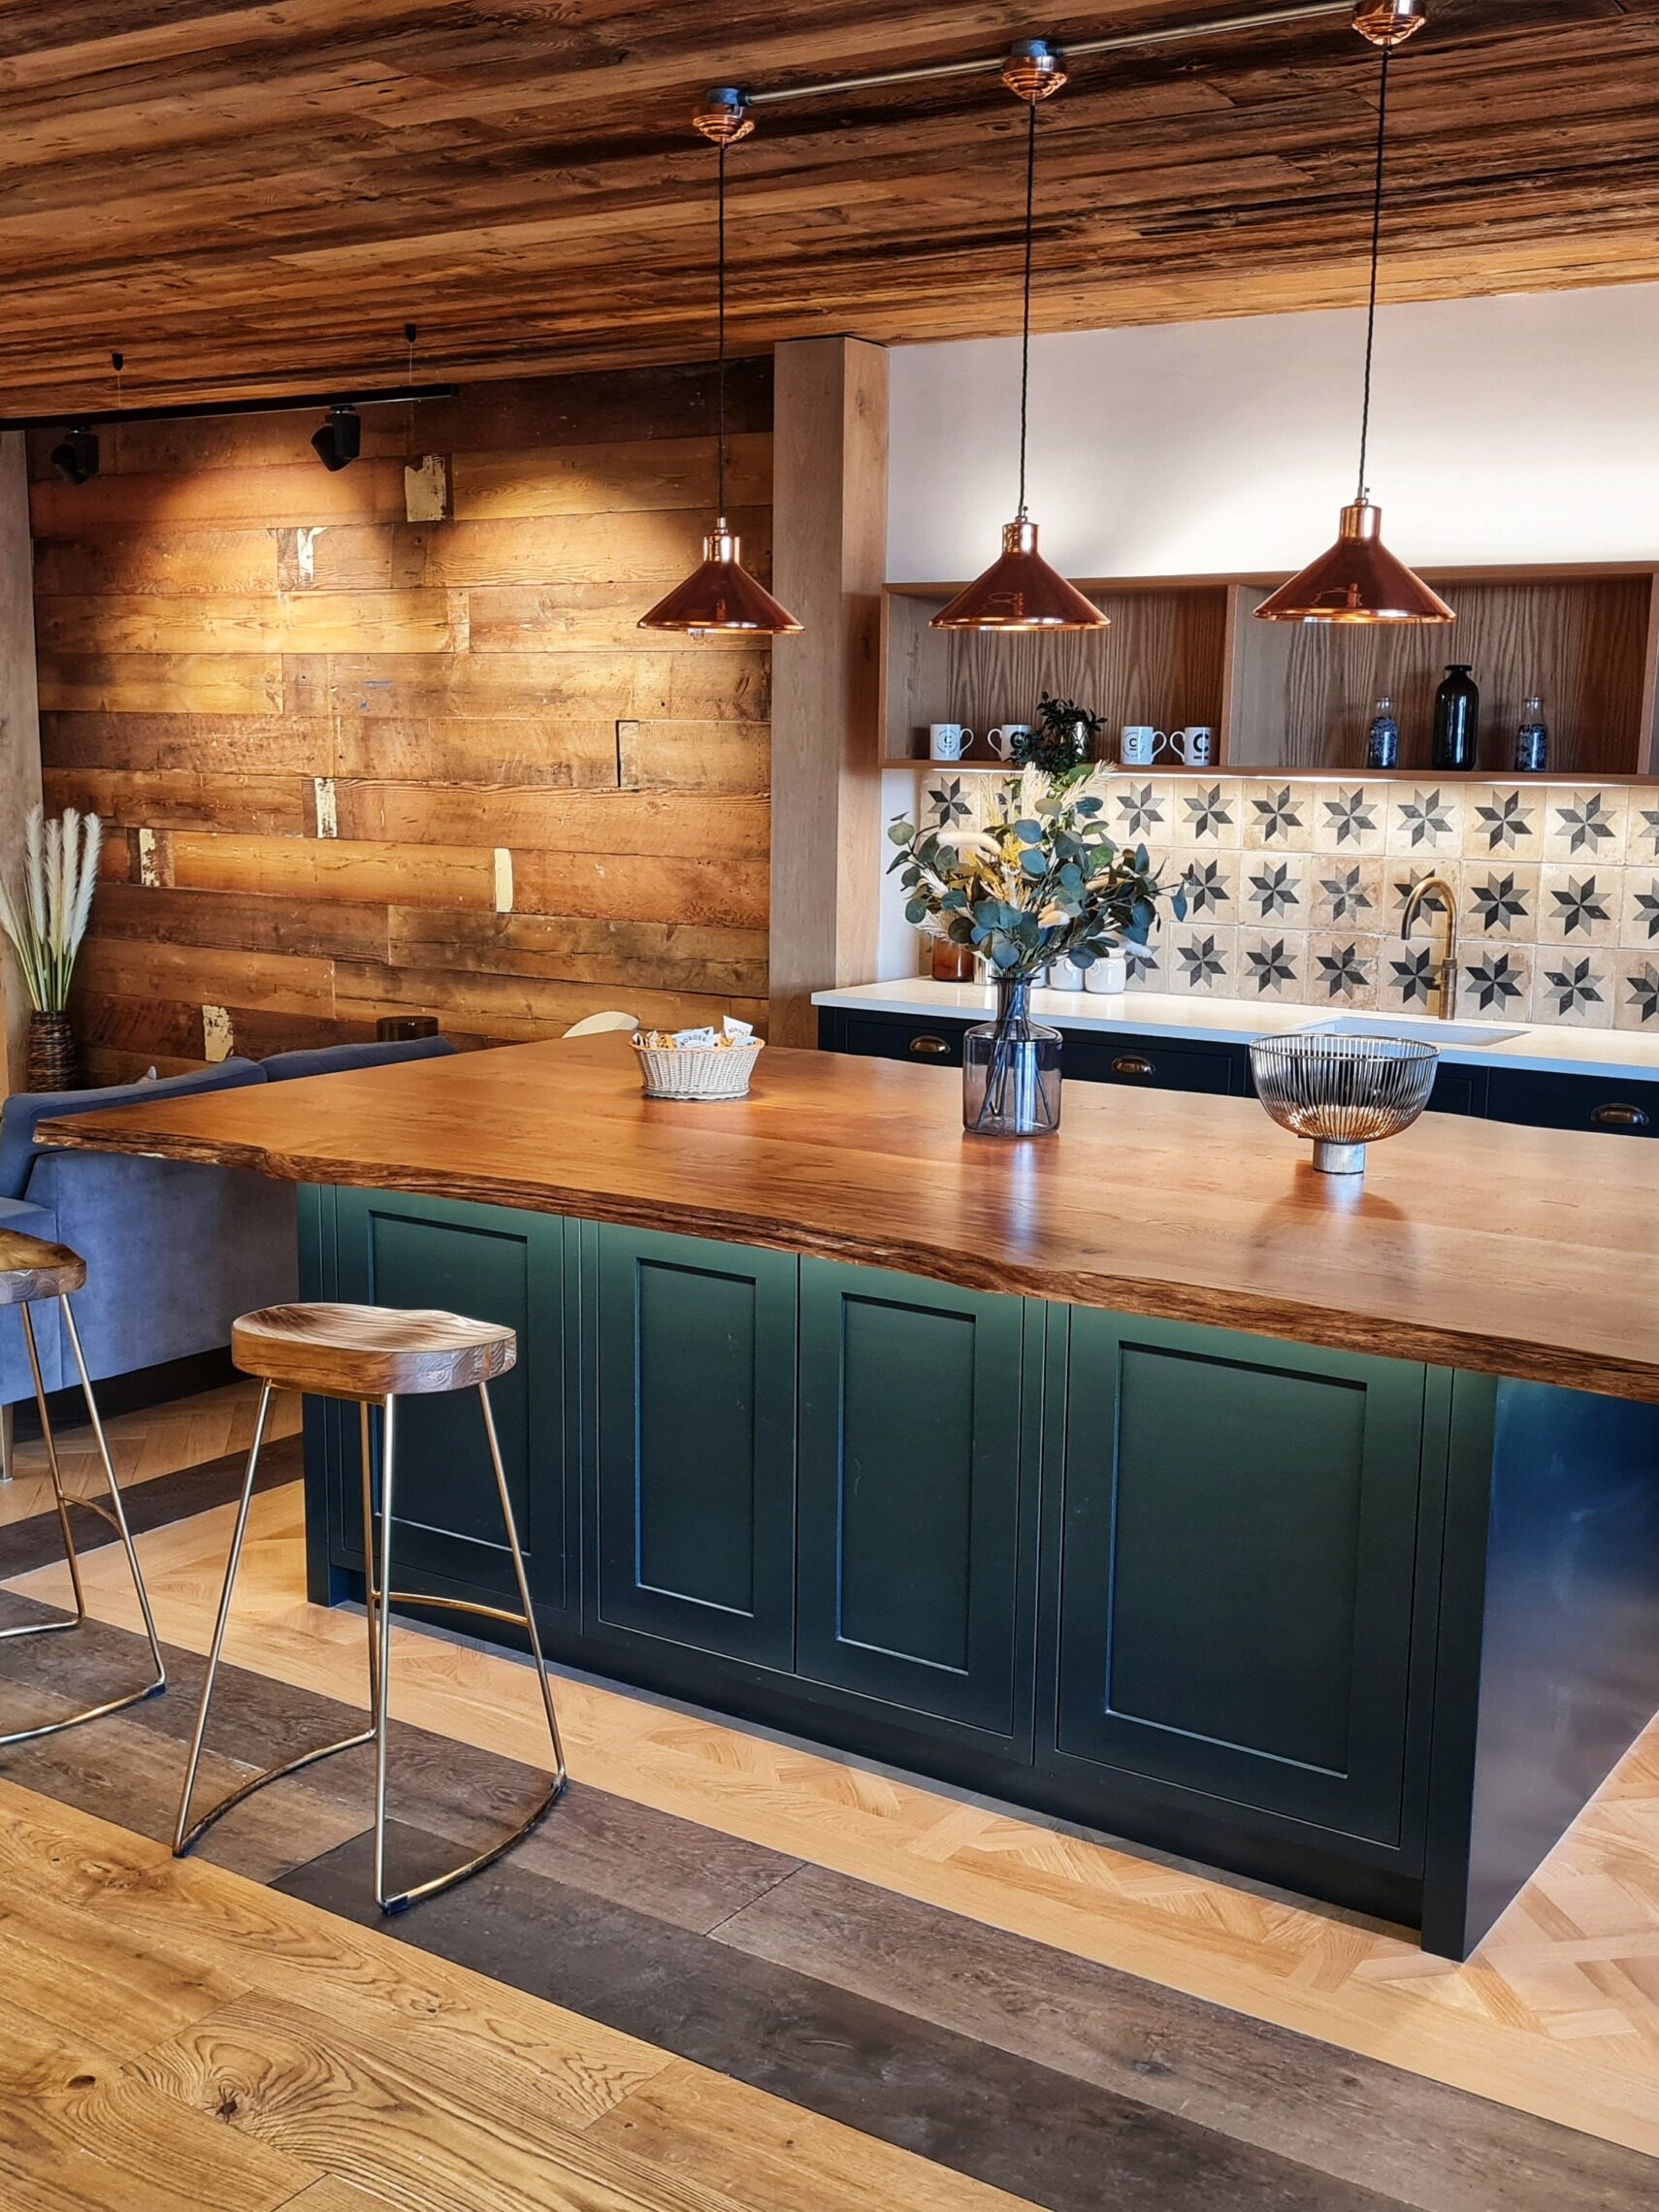
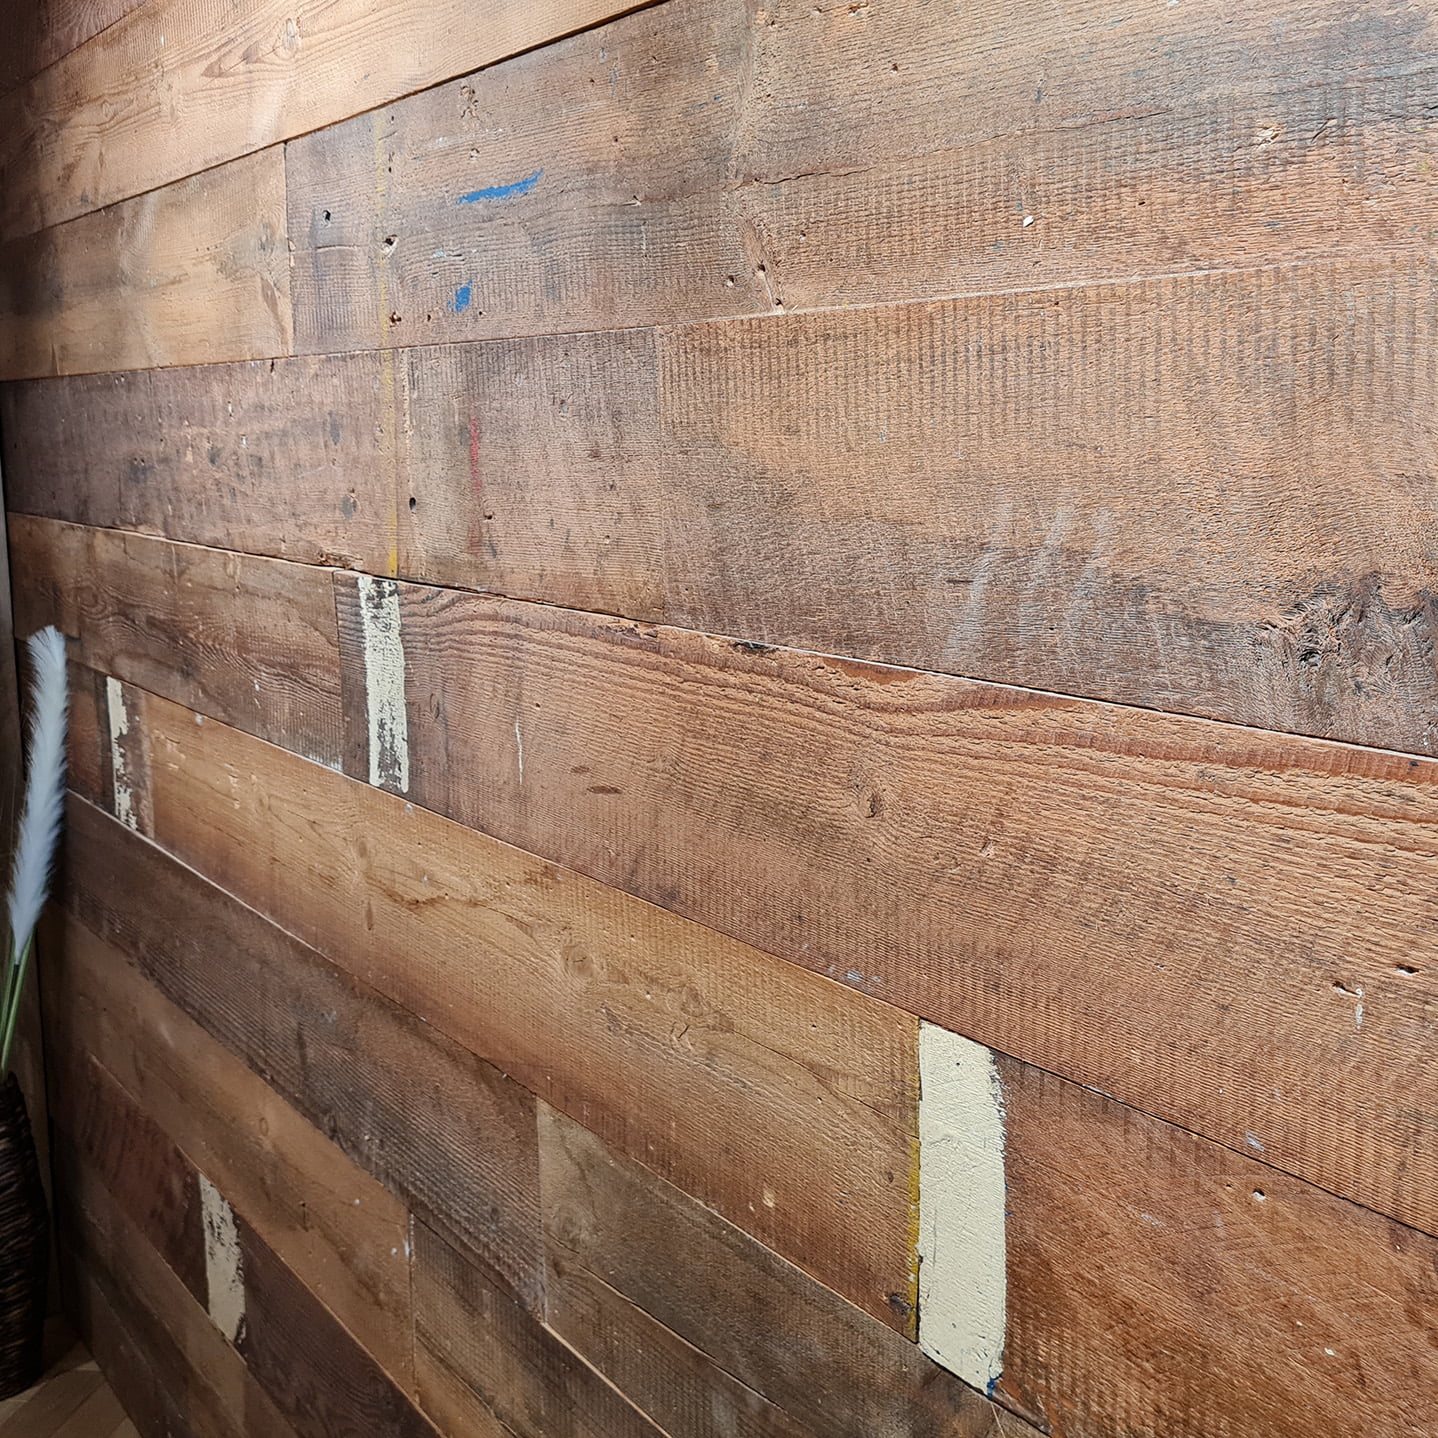
Reclaimed timber is available in many different varieties, species, and dimensions — from relatively clean-faced, subtly aged timber to beautifully distressed barn wood planks, and very rustic oak and exotic timbers rescued from disused railways, factories, and warehouses.
They might have distressed edges or could have shiplap edges or tongue and groove profiles milled into them. The best installation method will depend on the type of wood you select.
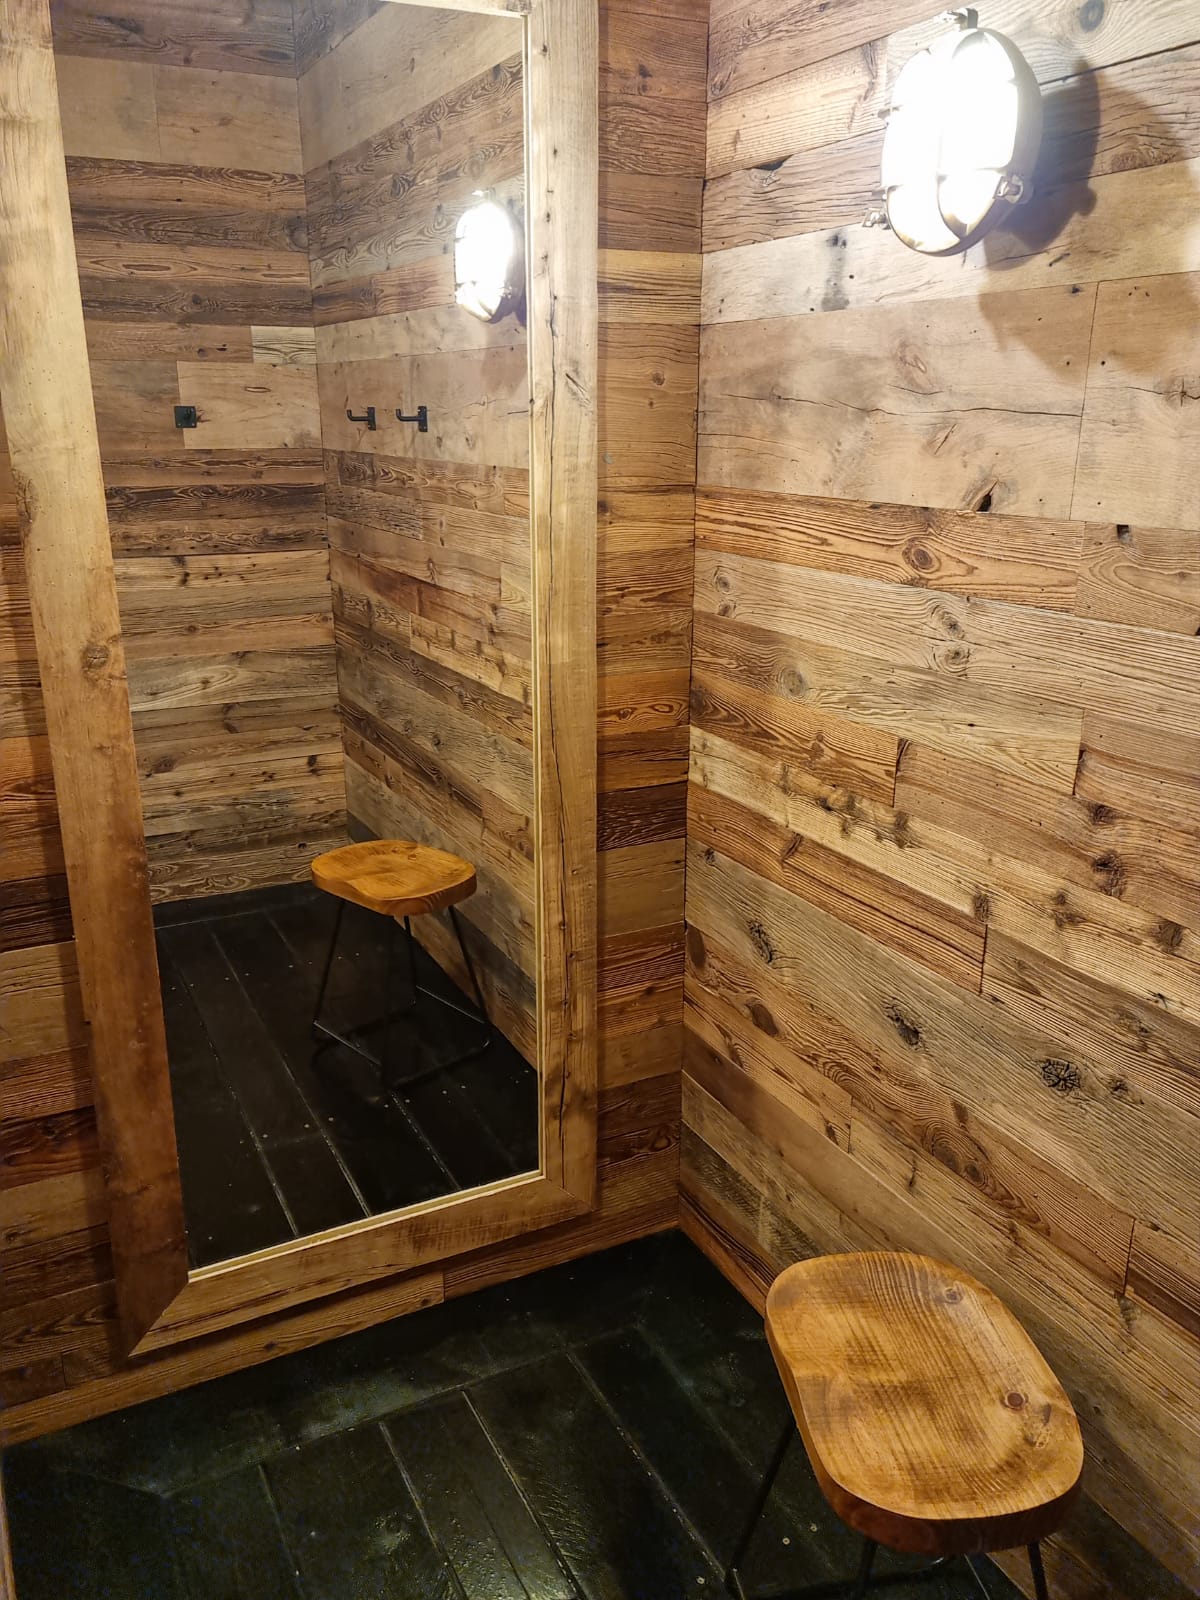
Whatever boards you choose, reclaimed timber cladding provides unique visual interest to any space. It can even add its distinctive charm to ceilings.
Acclimatisation
Reclaimed cladding boards should be stacked and allowed to acclimatise for approximately 3 weeks in stable conditions, ideally in the room which they are to be fitted in. Making them feel at home is vital for stabilising the boards and should stop any problematic movement from moisture content changes in the timber. Kiln dried and engineered timber requires much less time to acclimatise.
Start with a Flat Surface
No matter what type of wood cladding you select, it’s important to make sure you have a suitable, flat surface to affix your timber to.
Marking Out and Planning
It’s helpful to use a laser level to mark a level line across the middle of the wall, then begin installing planks from that starting point. With a little planning you should be able to come up with the ideal layout that allows you to fit a full-width board next to the ceiling. A cut plank at the bottom is less conspicuous and is usually hidden by skirting board.
Alternatively, if your ceiling is square with the wall, you can start at the top of the wall and work your way down — this will ensure there is a full board to meet the ceiling.
Fixing Reclaimed Timber to Battens
Wood cladding is commonly fixed onto softwood battens that have been screwed to the wall. This is a great method if you have an uneven wall surface. If your wall isn’t flat, you can use packers to pack out the battens and create a level structure.
Installing Timber Battens
Fix your battens at 90 degrees to the direction you’re going to fit the cladding, spaced around 400-600mm apart, depending on the size of the wall and the length of your boards. The first and last battens should be at each end of the wall. Fix extra battens around doors and windows, as well as under any unsupported end joints.

If you’re fixing your cladding to the inside of an external wall, it’s a good idea to install a vapour barrier behind the battens to prevent condensation. If you’d like, you might want to take the opportunity to install some extra insulation between the battens at this stage too.
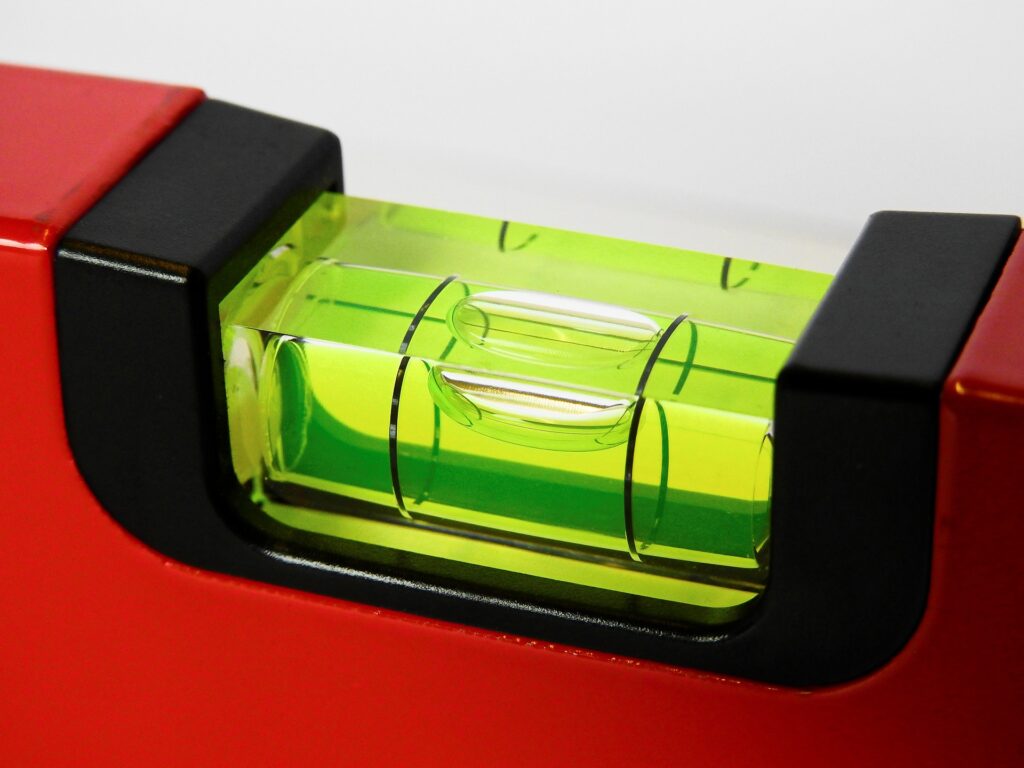
Make Sure Your Boards are Level
Use a spirit level or laser line guide to ensure that your boards are perfectly level (or plumb if vertical). Once you’ve installed your first row of level cladding boards, the rest should be quite a speedy process.
Choose a starting wall and begin working methodically from one side to the other. Remember to stagger the end joints so that they’re randomised.
Mechanical Fixings: Nailing Reclaimed Timber Cladding
Use a pneumatic nail gun to fire cladding pins or finishing nails into the boards to fix them securely to the wall battens. Thanks to the rustic nature of most reclaimed planks, the small nail holes should be inconspicuous or easy to disguise.
For heavier boards made of thicker or denser timber, you might want to use additional mechanical fixings into the wall studs.
Fixing Reclaimed Wood Cladding to Plasterboard
If you have a perfectly flat and level plasterboard surface, you could use adhesive and cladding pins to install your boards.
Use a high-strength construction grade adhesive. Apply the adhesive with a cartridge gun in continuous ‘S’ pattern across the length, keeping away from the edges to avoid the glue coming through the gaps. Glue the back of each board and apply gentle pressure as you fit the boards into place on the plasterboard. If you know the location of the wall studs behind the plasterboard, you can also use cladding pins or other fixings to secure the boards to the timber studwork.
Fixing Tongue & Groove Boards to a Plywood Wall
Another option is to screw plywood to your walls to create a flat solid surface which can be screwed, nailed or glued to. This can be helpful when fitting planks with a tongue and groove profile, allowing you to ‘secret screw’ through the tongue into the ply. This method is worth considering if face fixing the boards isn’t going to achieve the look you want.
Expansion Gaps
Leave small expansion gaps between your boards to allow for natural movement of the timber. Even after acclimatisation, reclaimed boards that aren’t kiln dried will likely continue to lose moisture content, in which case the boards will shrink a bit and the gaps will get marginally wider.
If you’re concerned about the gaps showing, painting the wall black or a similar colour to the material before installation will stop the lighter colour of the wall behind showing through.
When fitting reclaimed shiplap boards, simply overlap the joint with a gap of around 3mm between the boards for a traditional shiplap look.
Make the Most of Natural Variation
Mix the boards to make the most of their natural aesthetic and unique tonal variation, randomising their different colours and features to create your desired look.
Fire Retardant Coatings
In order to meet building regulations, it’s often necessary to apply a fire retardant coating to internal timber cladding. Clear intumescent paints offered by companies such as Envirograf® are easy to apply and don’t change the appearance of the timber. They’re an effective way to improve the fire resistance of the wood, ensuring that your cladding is ‘fire rated’.
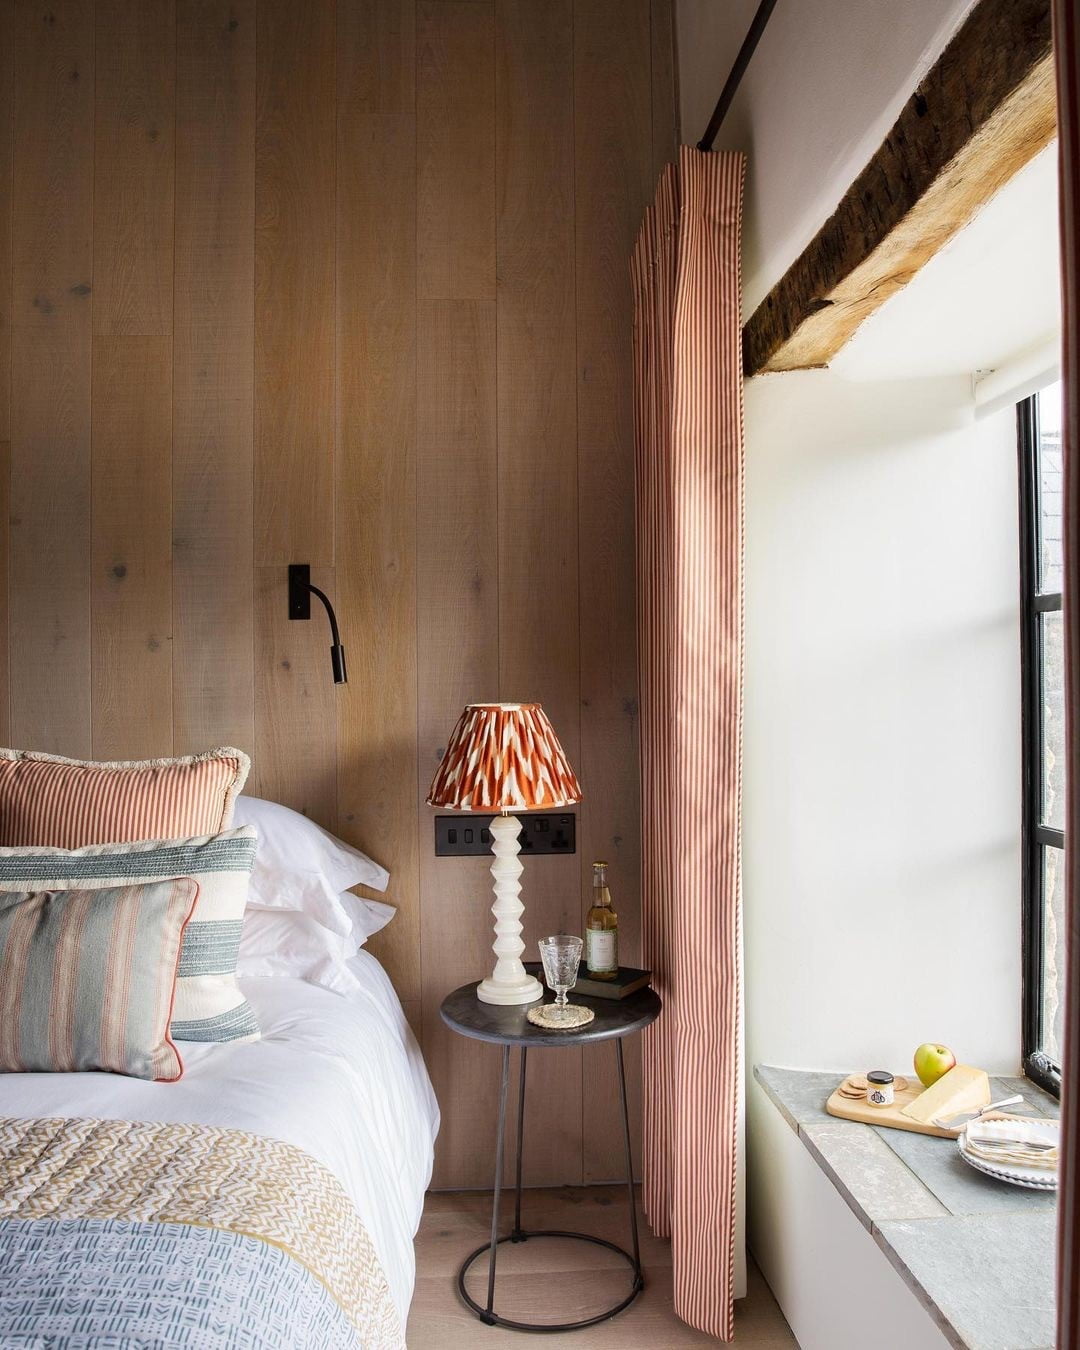
Cladding with our Engineered Timber Boards
As well as being fantastic floorboards, our Bristol Tectonic® engineered planks are also great as cladding. Due to their structural stability, they can be used in bathrooms too. We recommend our Sawn & Brushed planks for feature cladding with rustic charm and eye-catching texture.
Parquet Patterns
A feature wall displaying the timeless eye-catching herringbone pattern can be very effective too. This can be done with both our solid and engineered oak herringbone blocks. You could even clad a wall in a striking chevron parquet.